


Linux Setup
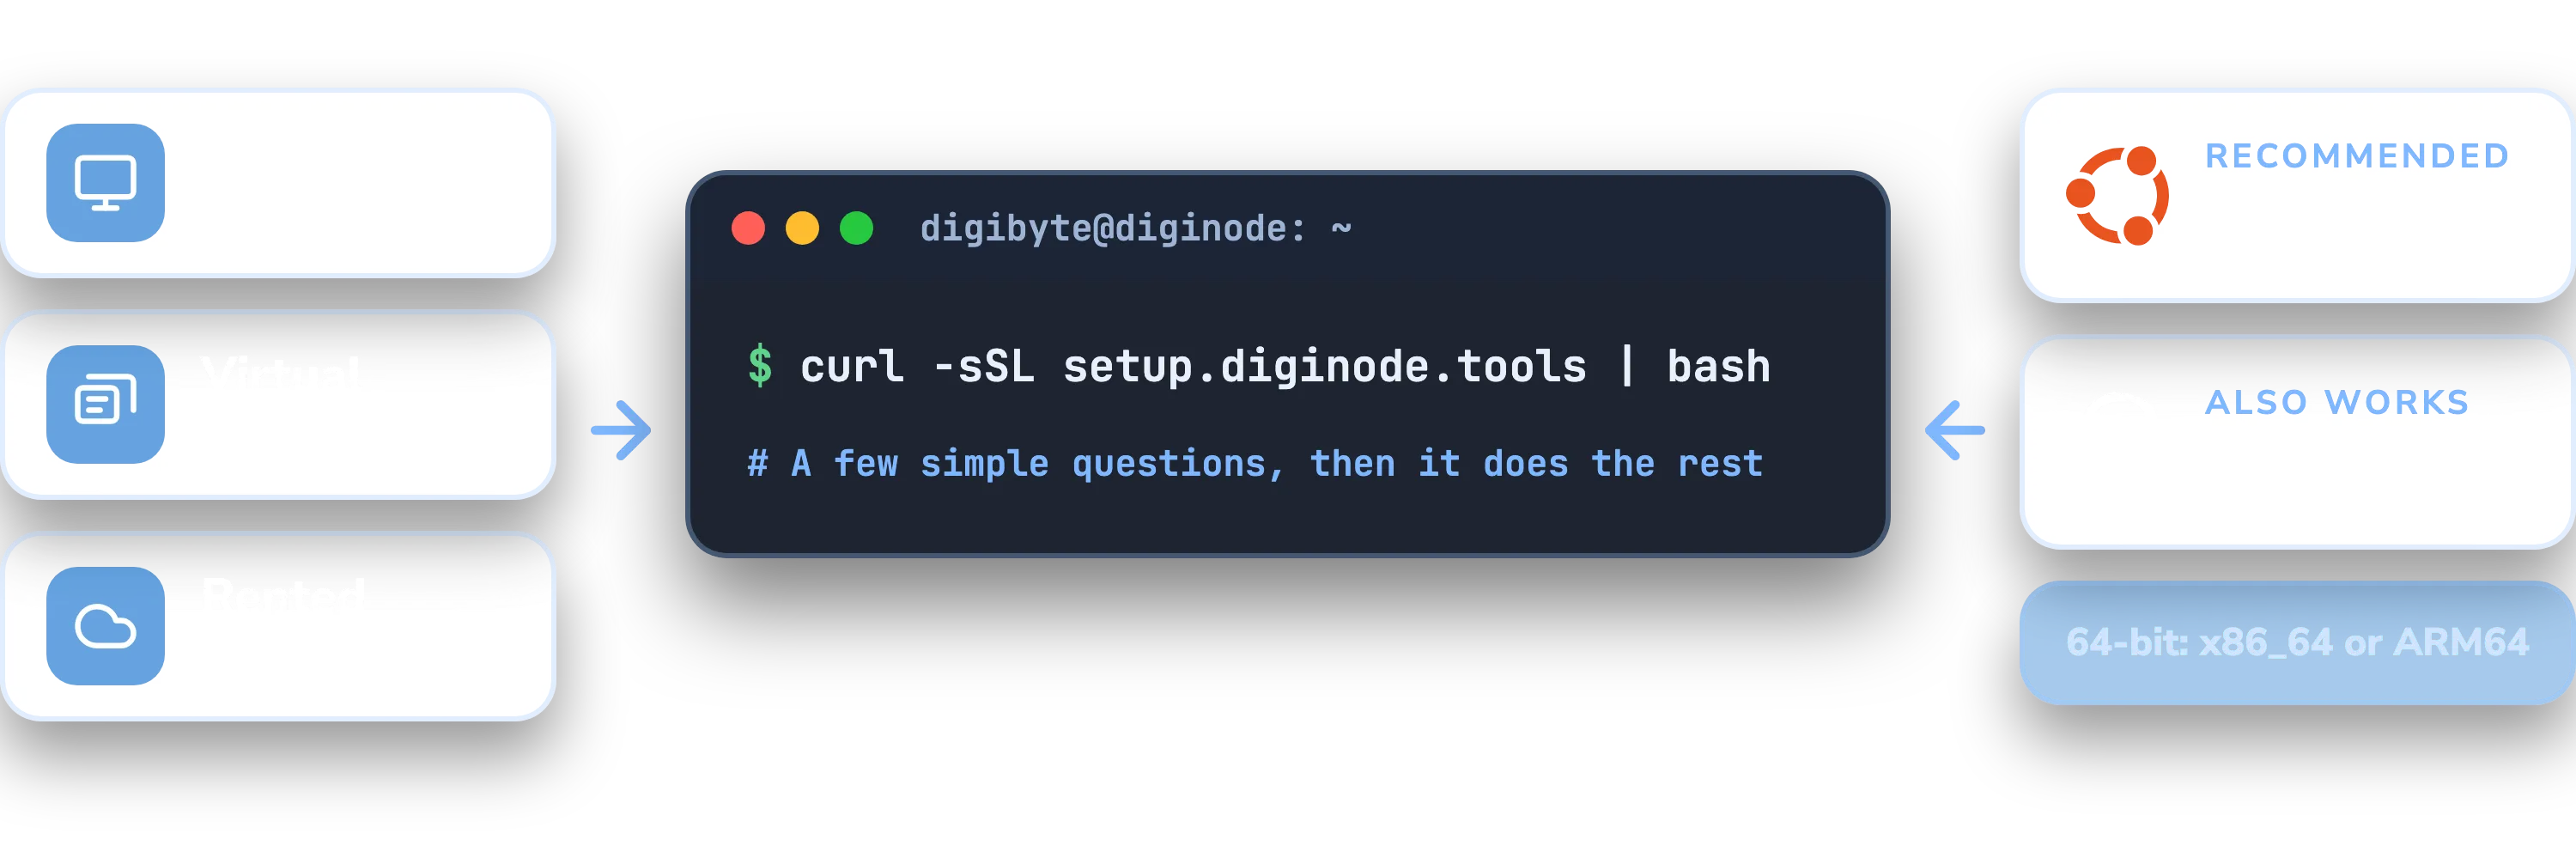
Run DigiNode Tools on a computer at home, a virtual machine or a rented server, running Ubuntu or Debian. Using a Raspberry Pi? Follow the Raspberry Pi guide instead.
What you'll need
- Ubuntu or Debian, 64-bit. Ubuntu Server 64-bit LTS is recommended. Debian also works, but needs sudo installed first (see step 1).
- 8GB of memory or more. On an Intel/AMD (x86_64) or ARM64 machine. 16GB leaves room for add-ons later.
- 128GB of free disk space or more, ideally on an SSD. The DigiByte blockchain needs more than 50GB and keeps growing.
More detail: System Requirements.
Runs headless
DigiNode Tools is designed to run without a display, keyboard or mouse. You manage it from your own computer over SSH. You may need a screen and keyboard to install the operating system on a machine at home, but not afterwards.
Using a desktop computer?
If the computer you want to use runs a desktop operating system that you use day to day, you may find it easier to run DigiByte Core on its own. You will miss out on the features that only DigiNode Tools has, such as DigiNode Dashboard, easy updates with verified downloads, USB wallet backups, easy Tor support, and running a Dual Node (mainnet and testnet at the same time). See all features.
1Sign in as user 'digibyte'
Your DigiNode should run in its own user account called
digibyte. This keeps your wallet separate from everything else on the machine. Don't run DigiNode Setup as root: it usessudoto switch to root when it needs to during the install, so it may ask for your password (thedigibyteuser's password).If you run DigiNode Setup as another user, it offers to create the
digibyteaccount for you. Or create it yourself first, then sign in as it:sudo adduser digibytesudo usermod -aG sudo digibytesu - digibyteOn Debian: sudo isn't installed by default. Install it first as root (enter the root password when asked):
su -apt install sudoexit2Sign in with an SSH key
An SSH key lets you sign in without a password, and nobody can guess it. On a server open to the internet, such as a VPS, it's strongly recommended: bots try passwords on every public server, all day long. On a machine at home, where only your node's ports are open on your router, it matters less, but it's still good practice, especially if you keep a DigiByte wallet on it.
Make a key on your own computer, copy it to the server, then check you can sign in with it (replace
your-serverwith its address):ssh-keygen -t ed25519ssh-copy-id digibyte@your-serverssh digibyte@your-serverWindows doesn't have
ssh-copy-id. Most hosting companies let you paste your public key (the.pubfile) when you create the server instead.Once signing in with the key works, turn off password sign-in on the server. Set
PasswordAuthentication noin/etc/ssh/sshd_config, and in any file in/etc/ssh/sshd_config.d/that sets it too, then restart SSH:sudo grep -r PasswordAuthentication /etc/ssh/sshd_config /etc/ssh/sshd_config.d/sudo nano /etc/ssh/sshd_configsudo systemctl restart sshKeep your current session open and check you can still sign in from a new window before you close it. If something is wrong, you can fix it from the open session instead of being locked out.
3Run DigiNode Setup
Signed in as
digibyte, paste this command into the terminal. Setup asks a few simple questions, then does the rest.curl -sSL setup.diginode.tools | bashTo change how your DigiNode is set up, such as running a testnet node, see Advanced Features.
4Let other nodes reach yours
Your node helps the DigiByte network most when other nodes can connect to it. Open port 12024 (TCP) for a mainnet node. For a testnet node, open 12033 on DigiByte Core v9 (12026 on v8).
At home
Add a port forwarding rule on your router that sends the port to your DigiNode. The Raspberry Pi guide explains how, and it works the same way for any computer.
On a VPS
Open the port in your hosting company's firewall, if it has one, and in any firewall on the server itself. For example, with ufw:
sudo ufw allow 12024/tcpThen check it with the DigiByte Port Tester, or press P in DigiNode Dashboard.
Good to know
- Choosing a VPS: check the plan has enough memory and disk space. Many of the cheapest plans don't.
- Other ARM64 boards: single-board computers such as an Orange Pi or Rock Pi should work if they run 64-bit Ubuntu or Debian and have enough memory, though they haven't been tested.
- Wallets on a VPS: the hosting company controls the hardware, so think twice before keeping a large balance in a wallet on a rented server.
- Afterwards: run
diginodeto open DigiNode Dashboard, anddiginode-setupto update or change your DigiNode. Questions? See the FAQ.
Disclaimer: These tools are provided as is. Use at your own risk. Olly Stedall cannot be held liable for any loss of DGB. Always keep a backup of your DigiByte wallet.
Please Support DigiNode Tools
DigiNode Tools is free, and I build and maintain it in my spare time. If it has helped you, please consider supporting my work: