A Raspberry Pi offers one of the easiest setups on which to run a dedicated DigiNode. A Raspberry Pi 4 8GB or better is recommended, booting from an SSD. For a complete list of suggested hardware, click here.
These instructions will take you through all the steps required to set up your DigiNode on a Raspberry Pi in detail. More technical users may prefer the one-page overview here which simply covers the essential steps.
If you need help at any point, please ask in the DigiNode Tools Telegram group.
Note: A DigiNode is designed to operate "headless". This means you do not need a display, keyboard or mouse attached to your Raspberry Pi. Your DigiNode will be set up and managed entirely from your main main computer. There are detailed instructions below for both Windows and Mac users.
Step 1 - Assemble the Raspberry Pi in its case and connect the SSD to your Windows or Mac computer
Step 1.1 Assemble your Raspberry Pi in its case
If you have not already done so, assemble your Raspberry Pi in its case.
Note: If your Raspberry Pi case has a power button, it may also have an option to boot automatically when the power is connected, rather than you having to press the power button. If so, it would be a good idea to enable it to ensure that your DigiNode will always startup automatically after a power outage. Please refer to the instructions that came with your Pi case for how to do this - typically it involves changing a jumper pin on the board for the case.
If you are using the Argon One M.2 SATA case, this video may be helpful:
(You can stop watching at the point where it instructs you to install Raspberry Pi imager. That will be covered in Step 2.)
Step 1.2 Connect the SSD to your computer
To install the operating system for your DigiNode, you will first need to connect the SSD you are using with your Raspberry Pi to your computer. You can then use the 'Raspberry Pi Imager' software to write the operating system onto the SSD.
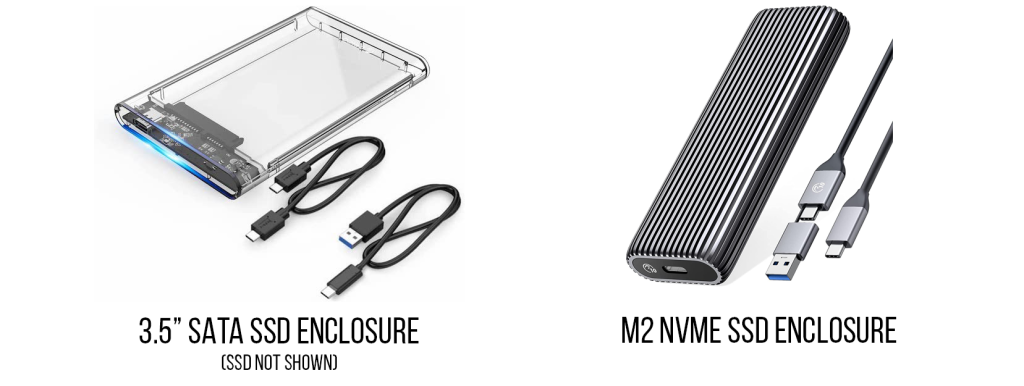
Depending on the type of enclosure you are using for your Raspberry Pi, your SSD will either be in an external case like have an SSD in a separate external case, or it is built
External SSD
If you are using an external SSD you should be able to use the cable(s) that it came with to plug it directly into your computer.

Internal SSD
Some Raspberry Pi cases, such as the 'Argon ONE M.2' or the 'DeskPi Pro' have space for an SSD within the case. The SSD is then connected to the USB port of the Raspberry Pi by way of a U-shaped USB dongle.
To connect the internal SSD to your computer you will need a USB cable to connect it. Newer Macs and PCs frequently only have USB-C ports these days, so you may need a USB-C to USB-A cable to connect the SSD. If your computer is older and has USB-A ports (the big rectangular one), you will need a USB-A to USB-A cable.

In the case of the Argon M.2 One case (see image below), you need to connect one end of the cable to the USB-A port of the internal SSD. Then connect the other end of the cable to your Mac.

NEXT: Step 2 - Download and Install the 'Raspberry Pi Imager' software.
To proceed to Step 2, click Windows or Mac depending on your system.
To return to the One Page Setup, click here.
