Get a terminal app
You'll control your Pi from a terminal on your computer, using SSH. Make sure your Pi is powered on (step 4).
Windows Terminal works well with DigiNode Tools' colours and layout. It's free, and already included in Windows 11.
On Windows 11? Windows Terminal is already installed - skip to 5.2.
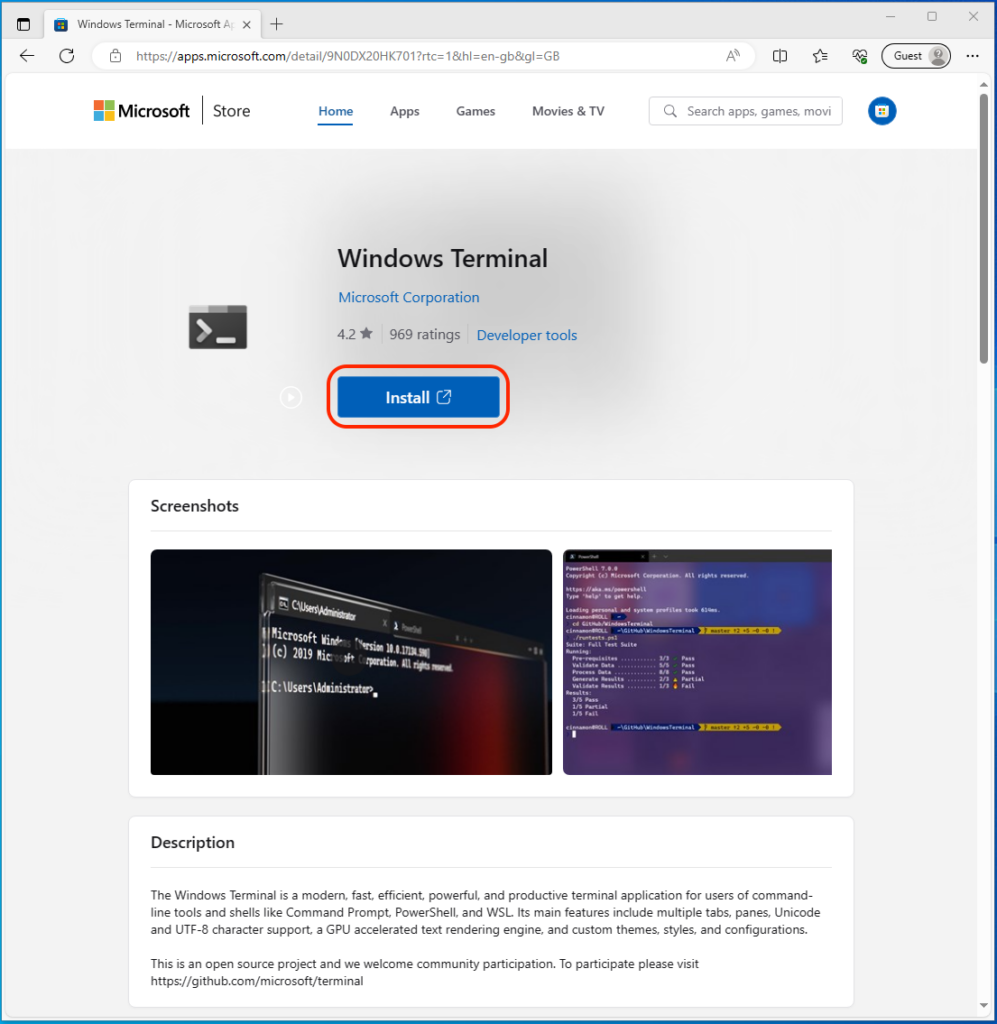
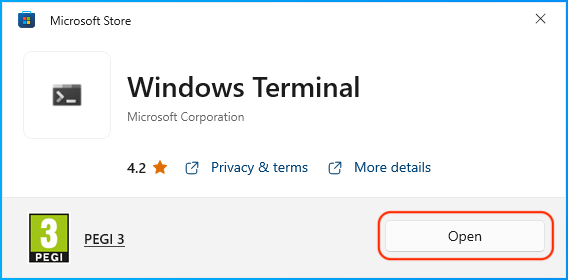
5aGo to aka.ms/terminal and click Install.
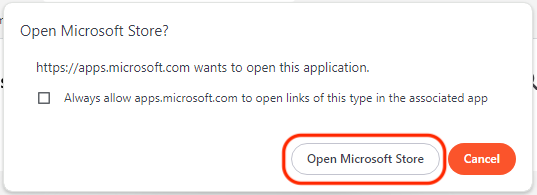
5bIf asked, click Open Microsoft Store.
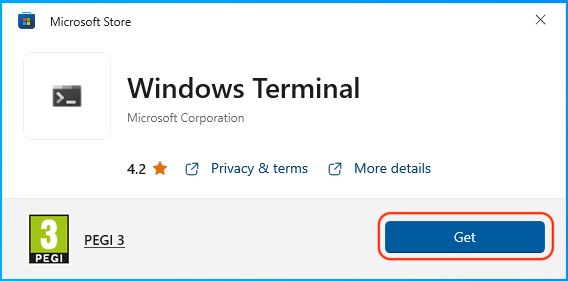
5cIn the Microsoft Store, click Get.
5dWhen it has downloaded, click Open.
iTerm2 works better than the Mac's built-in Terminal with DigiNode Tools' colours and layout. It's free.
5aGo to iterm2.com and click Download.

5bIf Safari asks to allow downloads, click Allow.

5cClick the Downloads icon in Safari, then the magnifying glass next to iTerm to show it in Finder.

5dDrag iTerm into your Applications folder.

Connect to your Pi
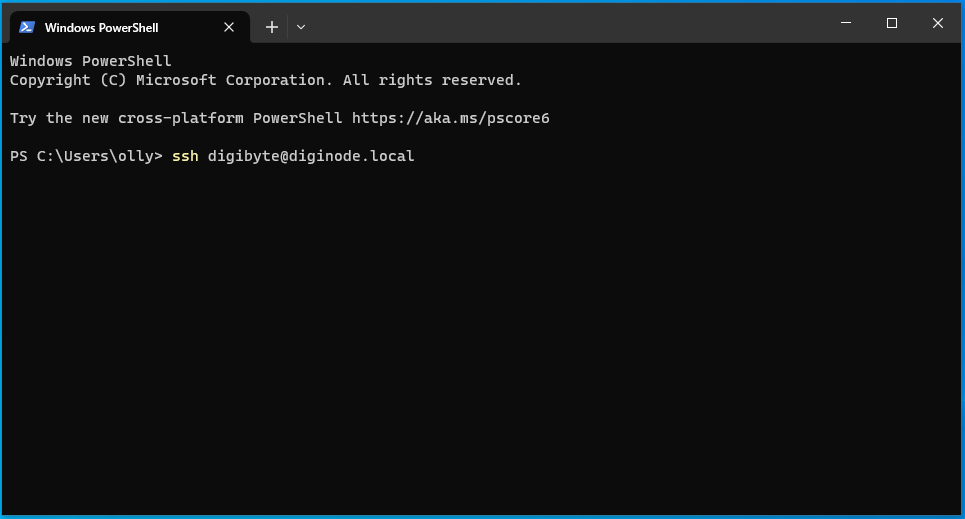
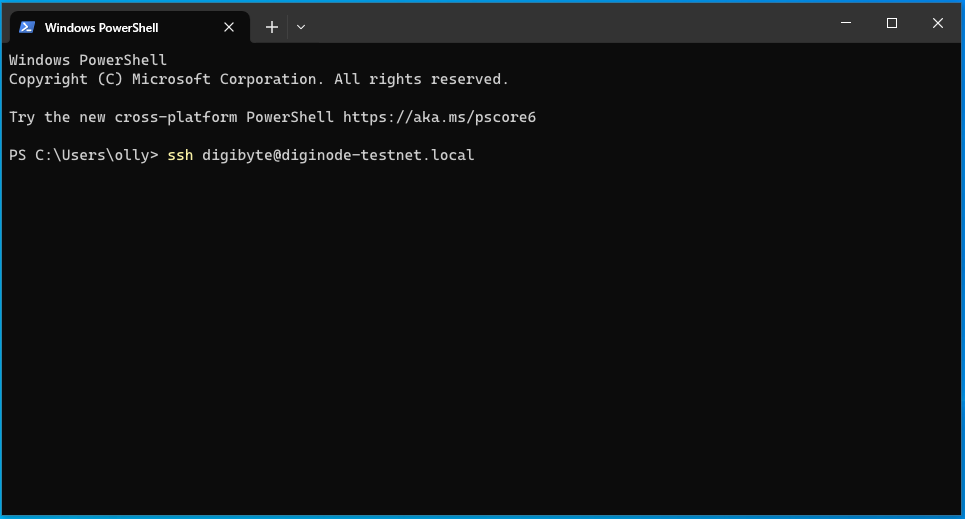
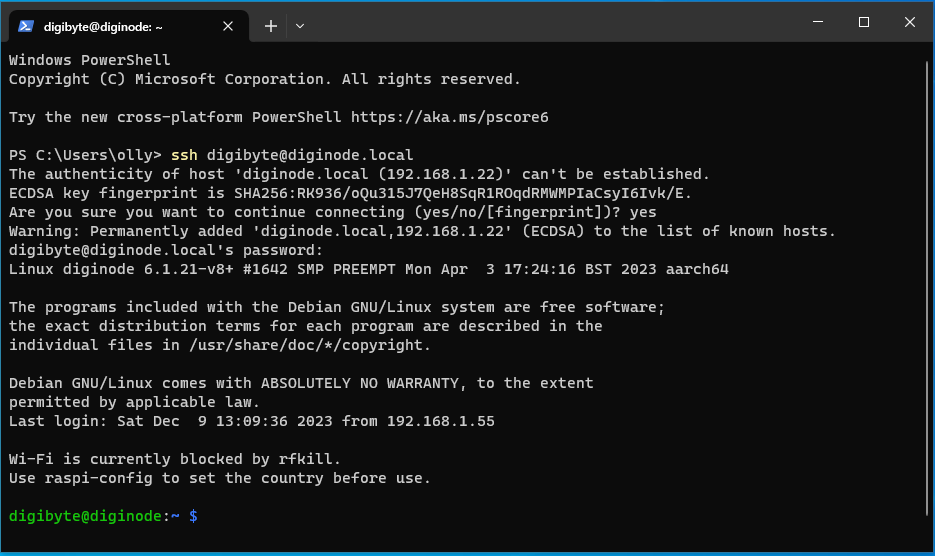
Log in to your Raspberry Pi with the username and password you set in step 3. This is the command:
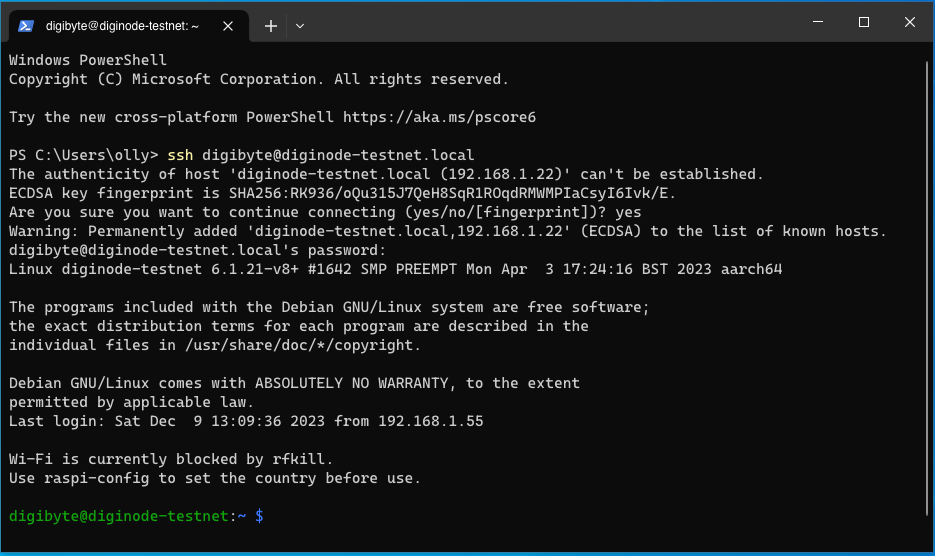
I'm running a Testnet node only (I used the diginode-testnet hostname in step 3)
5eIn Windows Terminal, type the command above and press Enter.
Help! It's not finding my Pi!
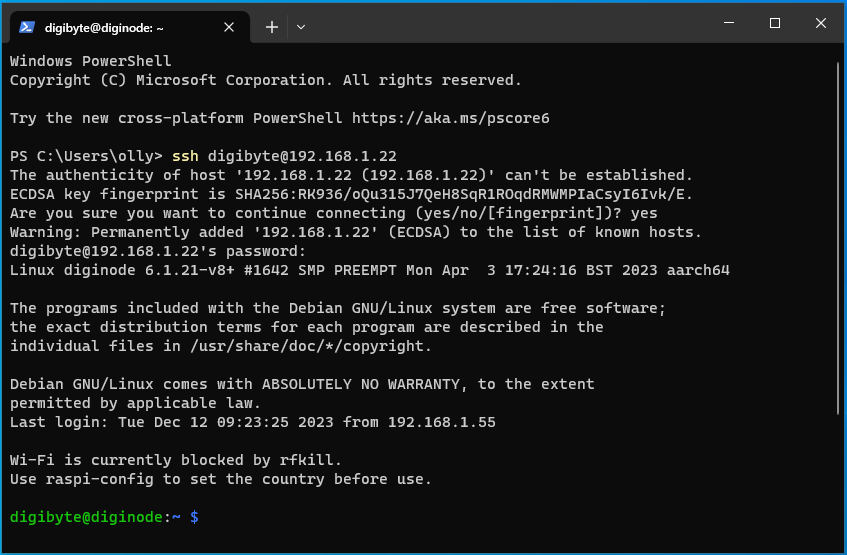
If it just sits there, or says Could not resolve hostname, your network can't find the Pi by its name. Press Ctrl + C to stop it, and connect using the Pi's IP address instead.
xFirst, find your Pi's IP address. If you know how to use your router's settings page, the Pi is in its list of connected devices (it may be called diginode) - then skip to the command below. Otherwise, use a free network scanner:
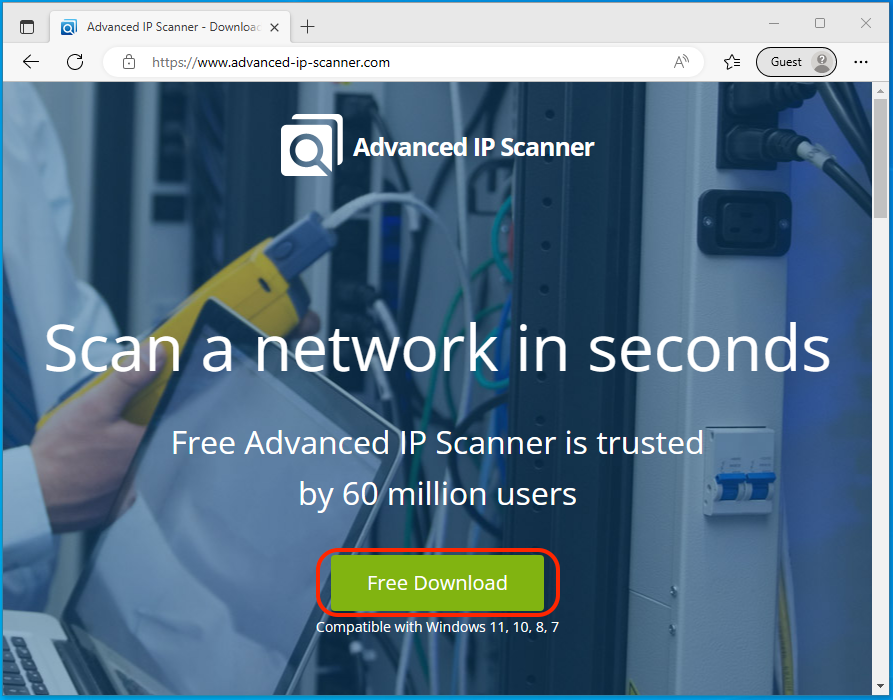
xGo to advanced-ip-scanner.com and click Free Download.
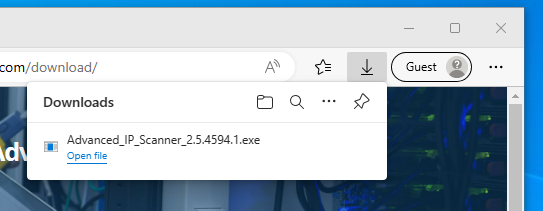
xOpen the downloaded file from your browser's downloads. If Windows asks if the app can make changes to your device, click Yes.
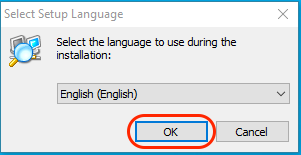
xChoose your language and click Continue.
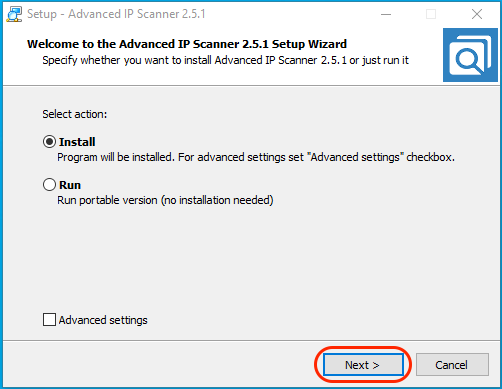
xChoose Install and click Next, then accept the agreement and click Install.
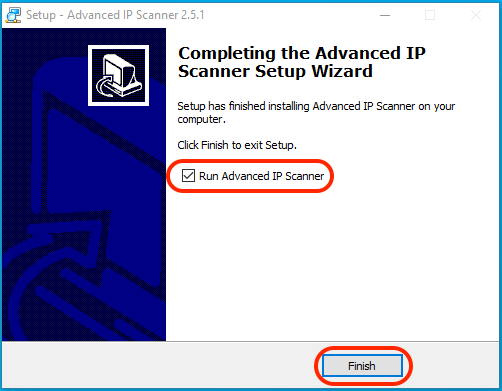
xMake sure Run Advanced IP Scanner is ticked and click Finish.
xClick Scan. Find diginode in the results (Manufacturer: Raspberry Pi Trading Ltd) and note its IP address.
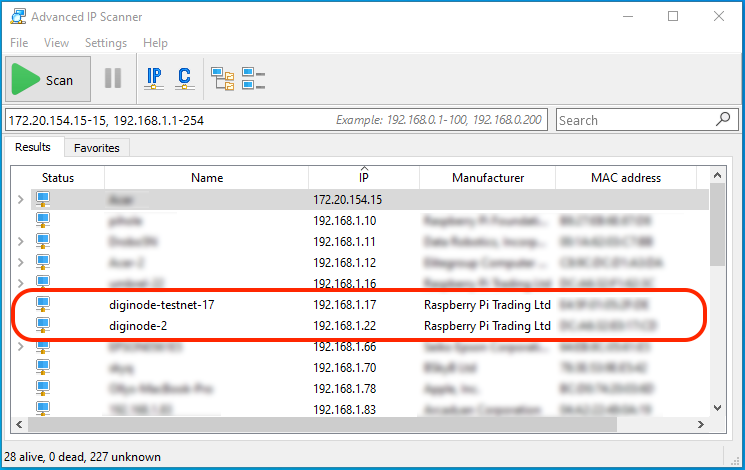
xBack in Windows Terminal, type the command again with the IP address instead of diginode.local - e.g. ssh [email protected] - and press Enter.
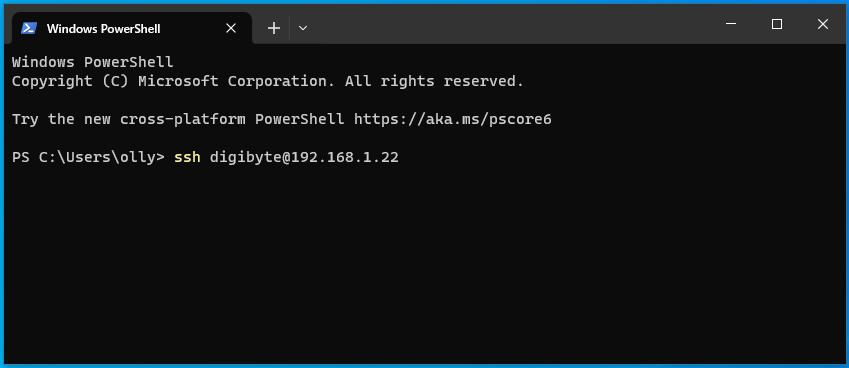
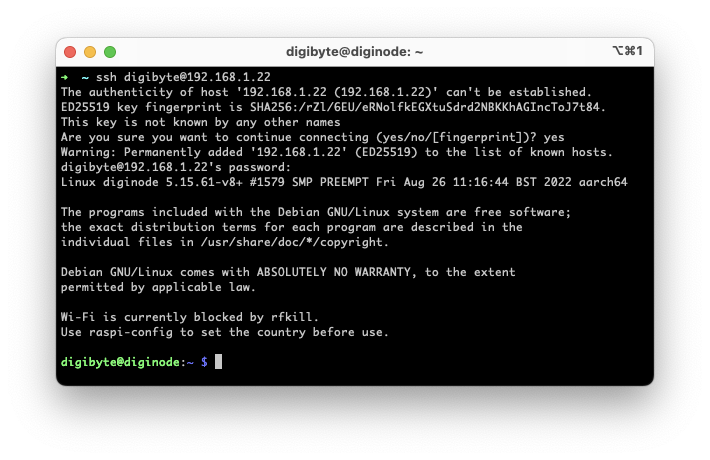
5fThe first time, it asks if you want to continue. Type yes and press Enter.
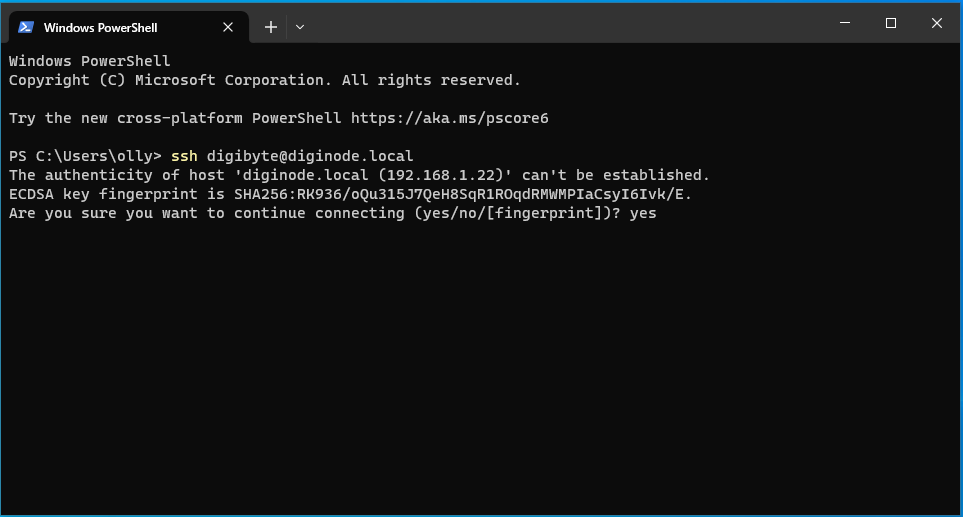
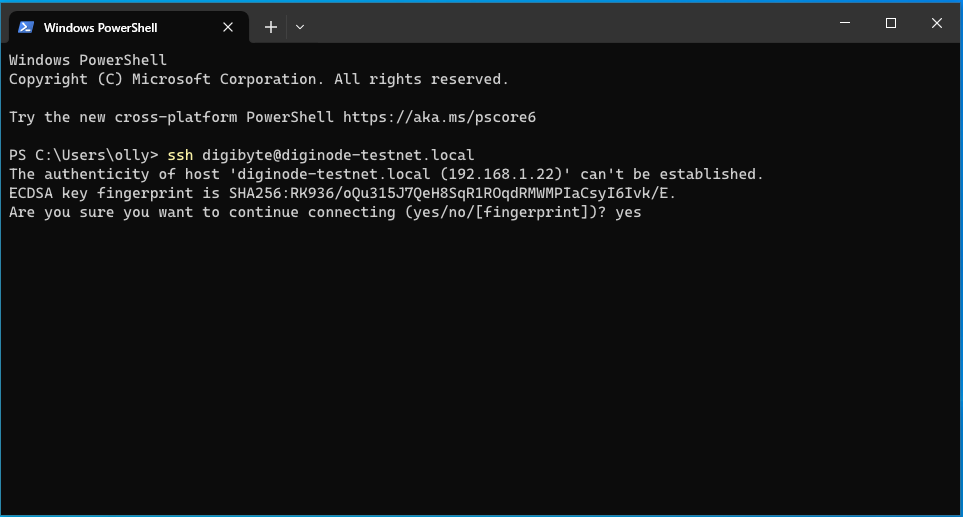
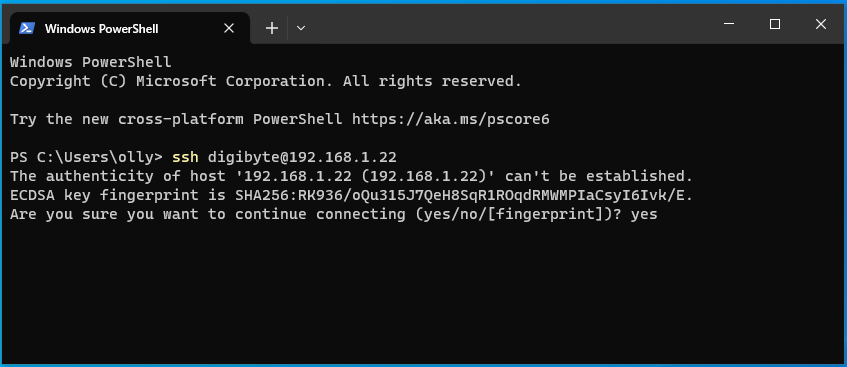
5gEnter the password you chose in step 3 and press Enter. (Nothing shows as you type - that's normal.)
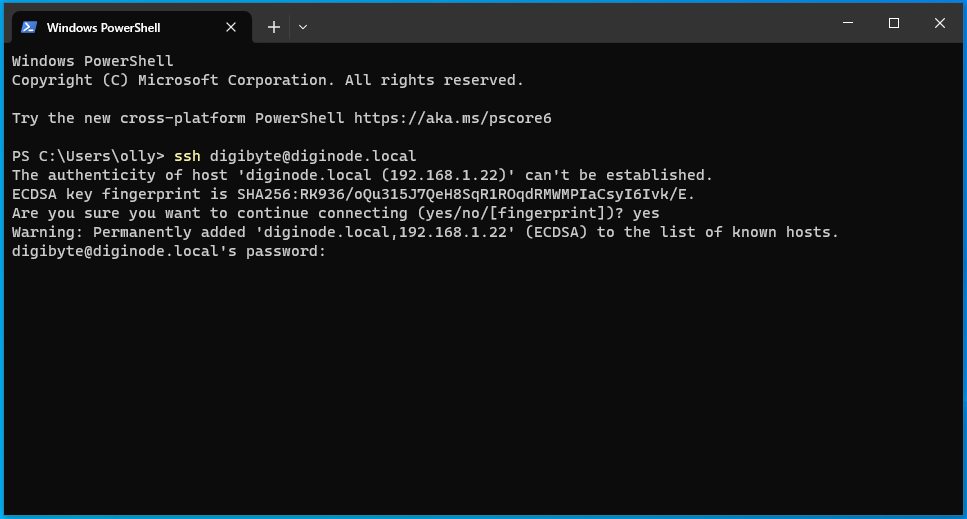
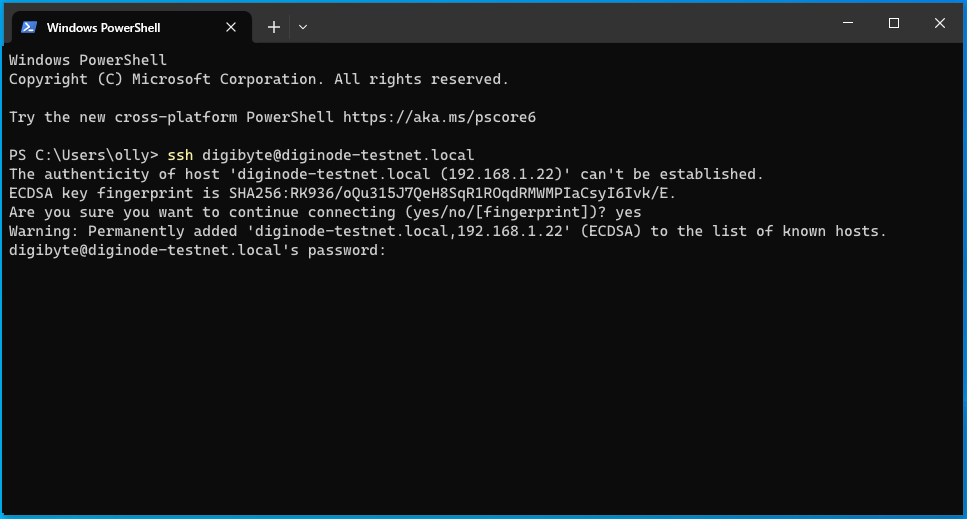
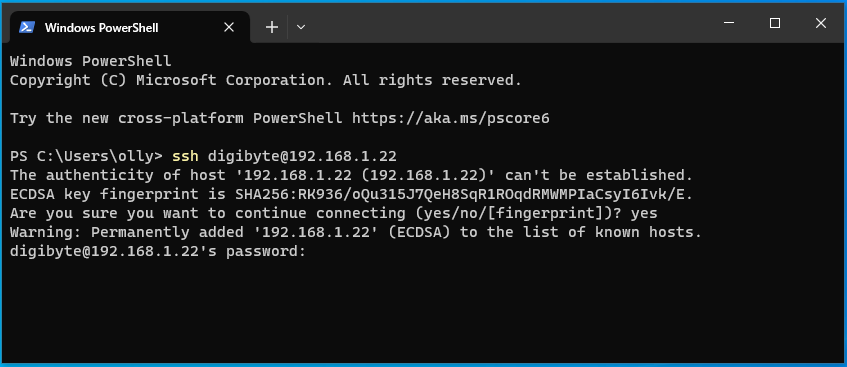
5hYou'll see the digibyte@diginode prompt. You're connected to your Pi!
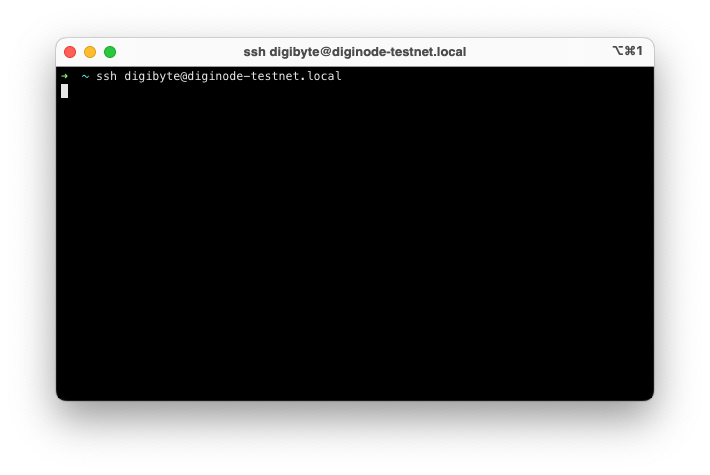
5eOpen iTerm2: press ⌘ + Space, type iterm and press Return. If macOS warns you, click Open.

5fType the command above and press Return.

Help! It's not finding my Pi!
If it just sits there, or says Could not resolve hostname, your network can't find the Pi by its name. Press Ctrl + C to stop it, and connect using the Pi's IP address instead.
xFirst, find your Pi's IP address. If you know how to use your router's settings page, the Pi is in its list of connected devices (it may be called diginode) - then skip to the command below. Otherwise, use a free network scanner:
xOpen LanScan in the Mac App Store and click Get (or Open if you have it). Enter your Apple ID if asked.
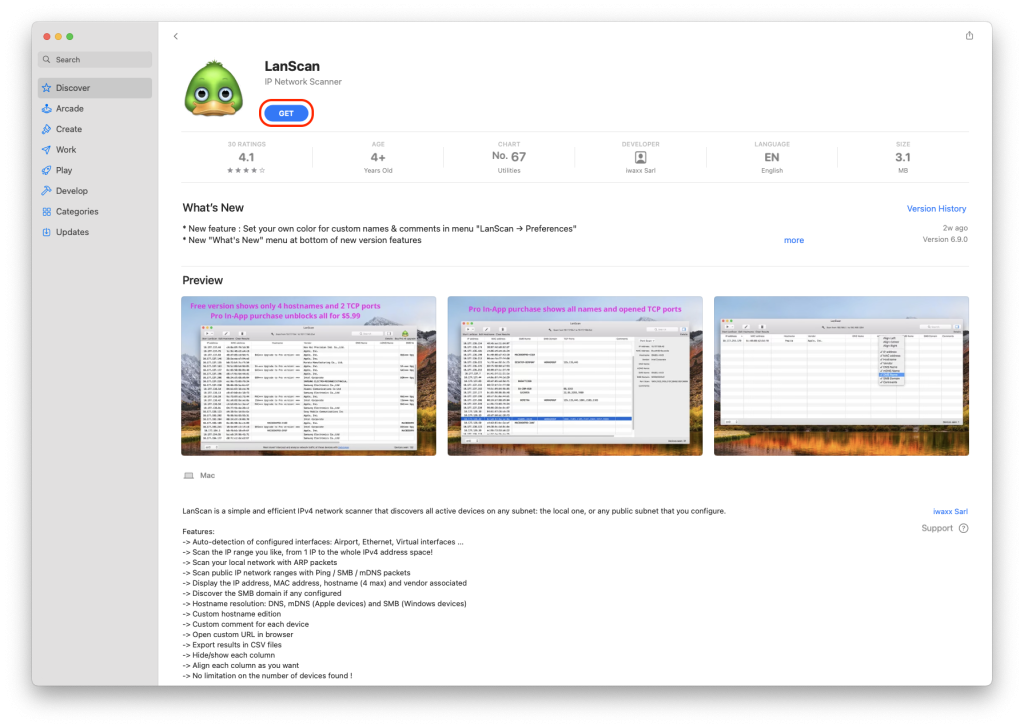
xWhen it has installed, click Open.

xClick Start LanScan.
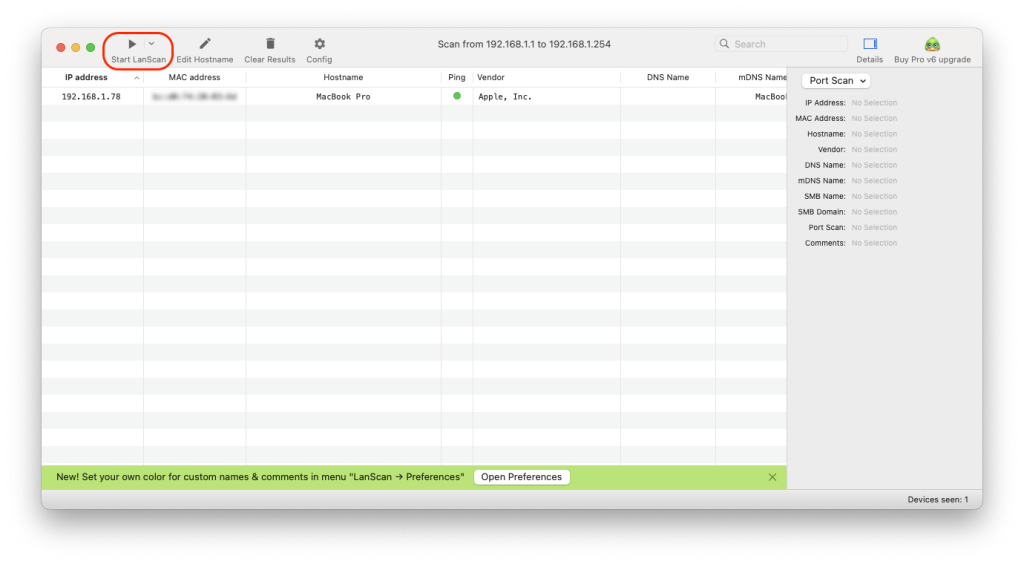
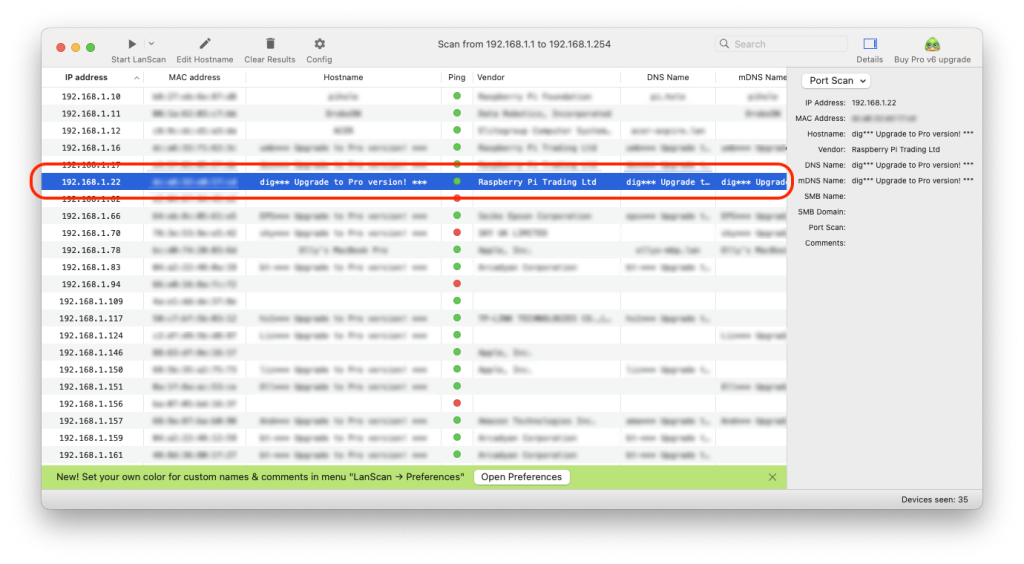
xFind your DigiNode (Vendor: Raspberry Pi Trading Ltd - the free version shows the name as dig***) and note its IP address.
xBack in iTerm2, type the command again with the IP address instead of diginode.local - e.g. ssh [email protected] - and press Return.
5gThe first time, it asks if you want to continue. Type yes and press Return.

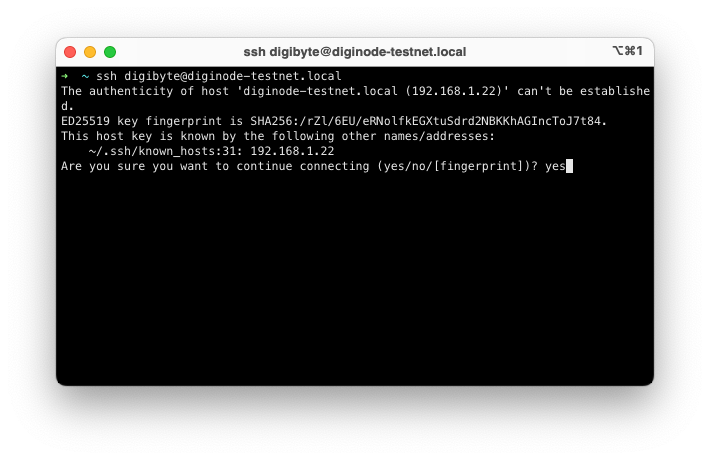
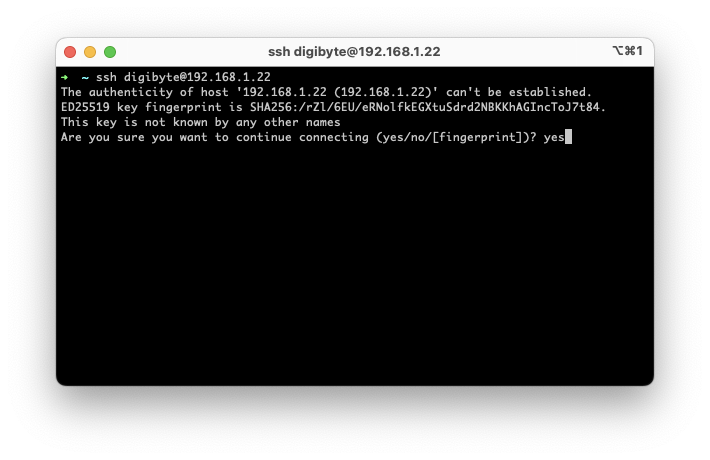
5hEnter the password you chose in step 3 and press Return. (Nothing shows as you type - that's normal.)

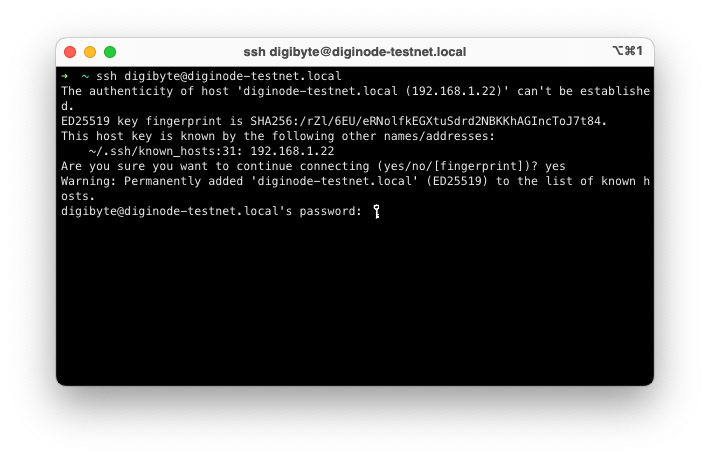
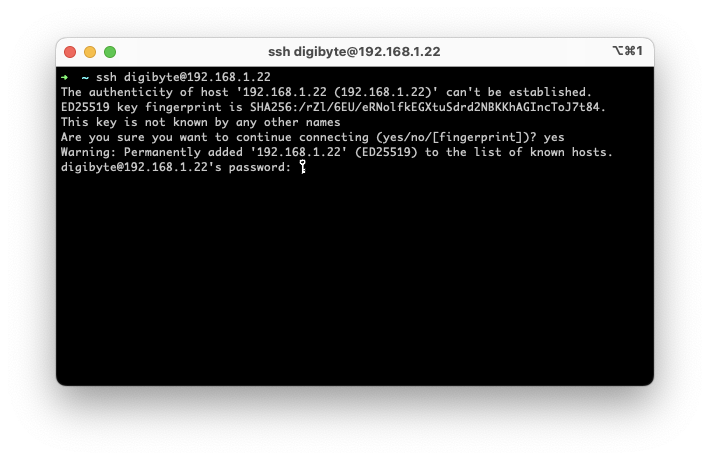
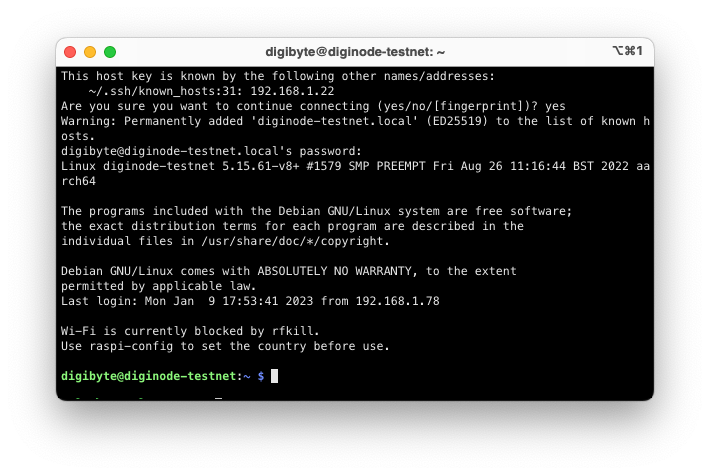
5iYou'll see the digibyte@diginode prompt. You're connected to your Pi!

Next: Step 6 - Run DigiNode Setup
Or go back to the One Page Setup.
Please Support DigiNode Tools
This guide and DigiNode Tools are free, and I build and maintain them in my spare time. If they have helped you, please consider supporting my work: