IMPORTANT: If you have not yet connected to your Raspberry Pi in the terminal using SSH, please go here for Windows or here for Mac to complete STEP 5 first.
Step 6 - Run the DigiNode Setup script on your Raspberry Pi
To run the DigiNode Setup script, in the terminal enter the following command and press return: curl -sSL setup.diginode.tools | bash

DigiNode Setup will start and perform some system checks, before taking you step-by-step with through the setup process.
Tip: Sometimes in DigiNode Tools it displays website URL's - to open these in your browser, you can hold the Command '⌘' key (Mac) or the Ctrl key (Windows) and then clicking on them.

When prompted to customize your install, choose 'Continue' to stick with the defaults.

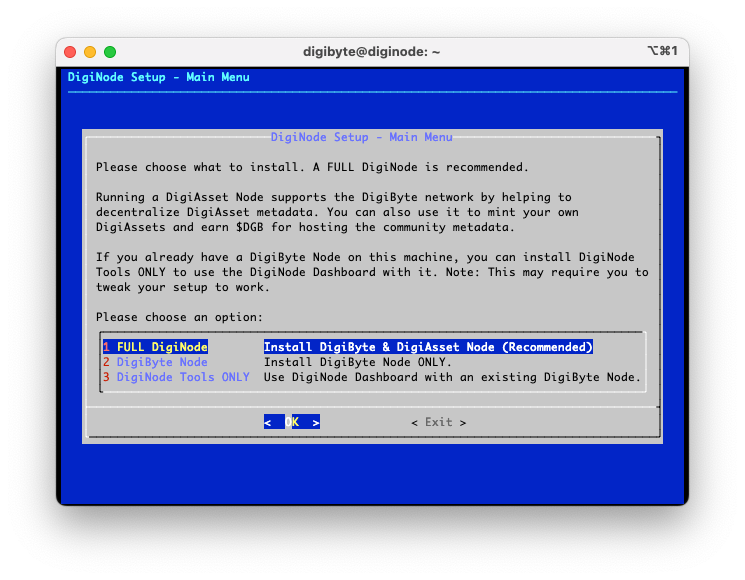
Once you reach the main menu, choose to install a 'Full DigiNode' and press return. DigiNode Setup will then start to download and configure the required software.
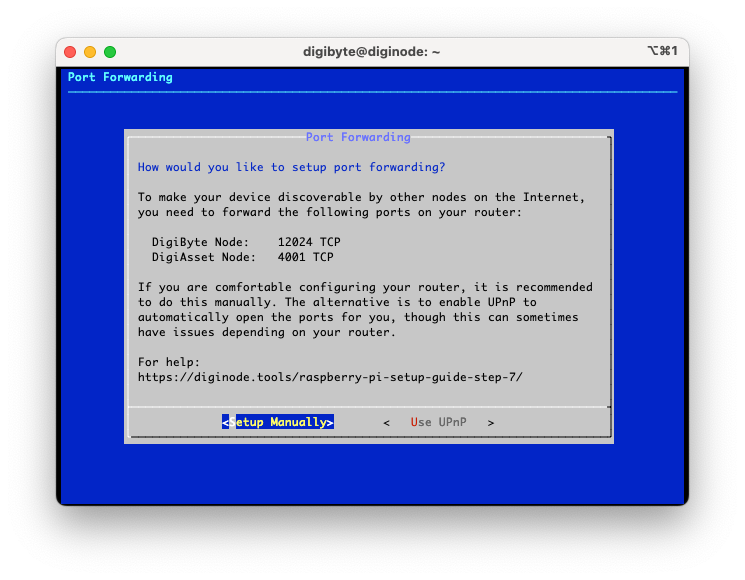
When asked whether to use UPnP for port forwarding, choose 'Setup Manually'. Take note of the port numbers. In Step 7, you will learn how to forward these ports on your router.
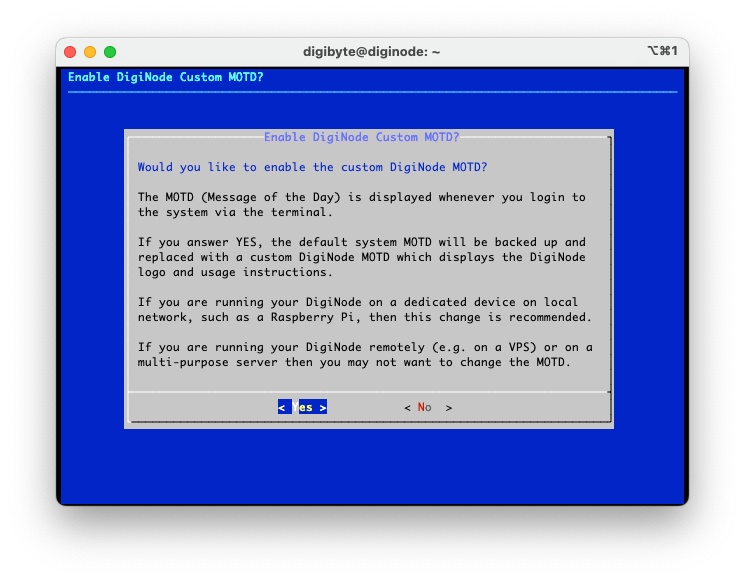
When prompted to install the custom MOTD, choose Yes.
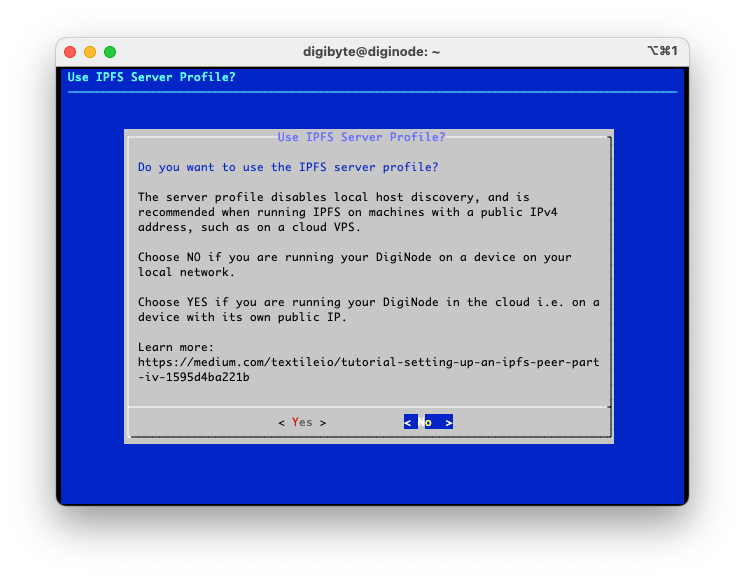
When prompted to install the IPFS server profile, choose No.
Installation will continue. It will likely take a few minutes to complete. Go grab a coffee.
Note: At several points during the installation, it may look like it has frozen. Just be patient. You should eventually see the message telling you it has been installed.

Next restart the Raspberry Pi, by typing sudo reboot followed by return.
Wait a minute or two for the device to restart, and then reconnect over SSH again, using the same method from Step 5. e.g. ssh [email protected]
It will prompt you for your password again. When it reconnects, you should then see the DigiNode MOTD, reminding you of the commands to manage your DigiNode.

To check on the status of your DigiNode, launch the DigiNode Dashboard by typing diginode followed by return.
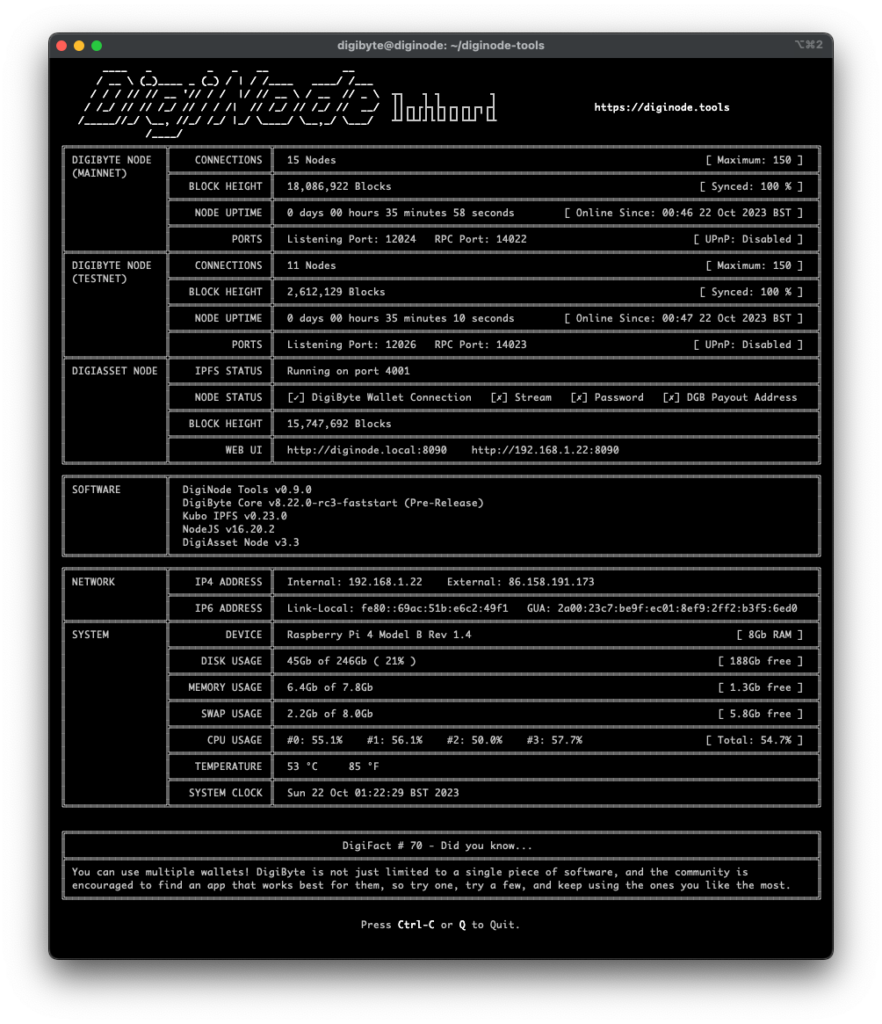
Press Q or Ctrl-C to quit the DigiNode Dashboard.
The final step is to set up port forwarding for the DigiNode.
Some Useful DigiNode Commands
The following commands can be used to manage your DigiNode. Type each one into the terminal and press return.
diginode --help- Display DigiNode Dashboard Help screendiginode-setup --help- Display DigiNode Setup Help screensudo systemctl restart ipfs- Restart IPFS.pm2 restart digiasset- Restart DigiAsset Node.
Some Useful Linux Commands
If you are new to Linux, you may find these commands useful. You can type each one into the terminal and press return.
exit- disconnect from the Raspberry Pils- view the contents of the current directoryls -all- view the contents of the current directory, including any hidden files or directories (Note: Hidden files or folders start with a period.)cd <directory path>- Navigate into a directory. e.g.cd ~/.digibytecd ..- Navigate out of the current directory.cd ~- Return to the home folder.nano <file name>- Edit a file using nano. e.g.nano ~/.digibyte/diginode.settingssudo- Prefix to other commands. It gives you elevated superuser permissions to execute that command. You will be prompted for your password.sudo reboot- Reboot the system.sudo shutdown- Shut down the system.sudo apt-get update- Check for system updates.sudo apt-get upgrade- Install system updates.sudo raspi-config- Launch the 'Raspberry Pi Software Configuration Tool' (use it to configure wifi, overclock the Pi etc.)
To learn more Linux commands, go here.
NEXT: STEP 7 - Give the Raspberry Pi a Static IP address and setup Port Forwarding
To proceed to Step 7, click here.
To return to the One Page Setup, click here.
