IMPORTANT: If you have not already connected the SSD to your Raspberry Pi and powered it on, then please go here and complete STEP 4.
Step 5 - Connect to the Raspberry Pi from your Windows PC
You will now connect to the Raspberry Pi from your Windows computer using SSH. You will then be able to run the DigiNode Setup script.
(Note: The instructions on this page are for Windows. If you are on macOS, click here.)
Step 5.1 - Download and install Windows terminal
To connect to your Raspberry Pi from Windows you need to use an SSH client. Windows Terminal is an excellent choice since it supports the advanced text formatting used by DigiNode Tools. It's opens source and free.
Visit https://aka.ms/terminal and click the 'Install' button to download it:
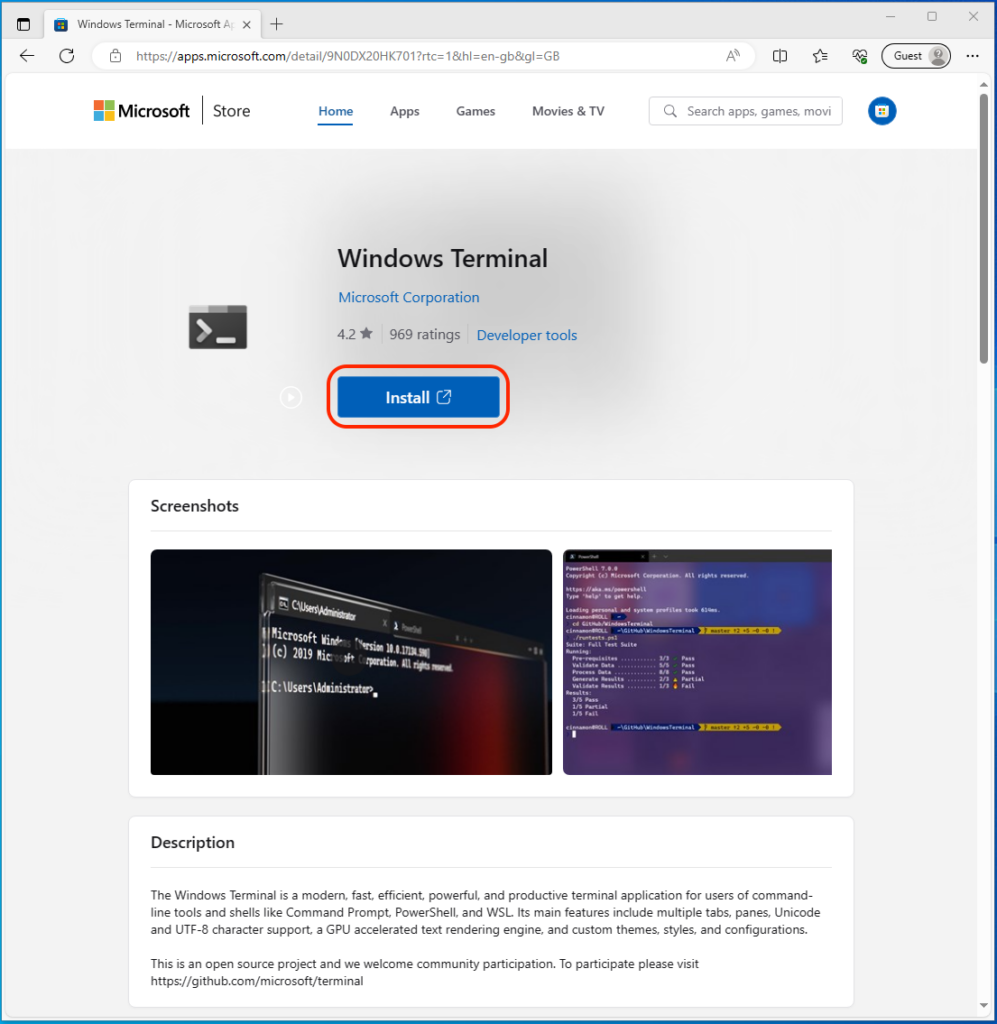
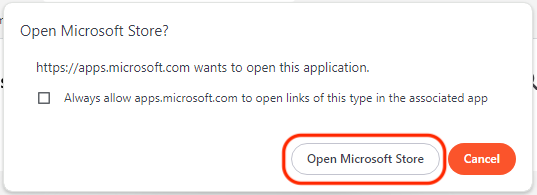
If you see the below dialog, tick the box if you want, and click "Open Microsoft Store":
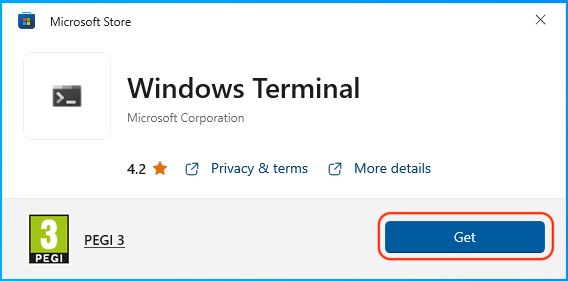
Windows Terminal should open in the Microsoft Store. Click the 'Get Button':
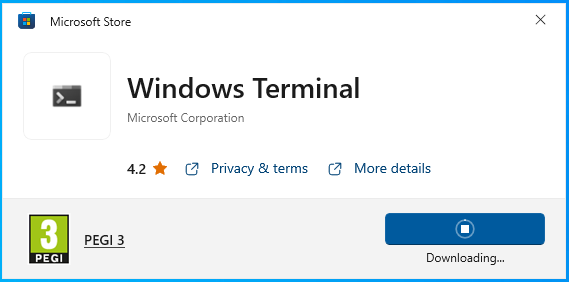
Window Terminal should start to download:
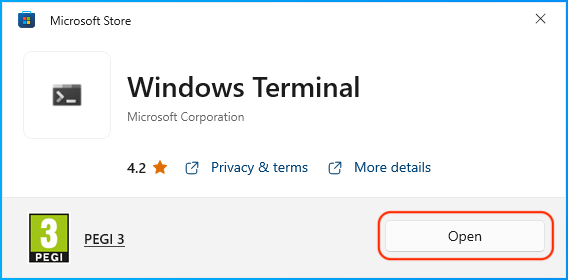
Once downloaded, click "Open":
Step 5.2 - Connect to the Raspberry Pi using SSH
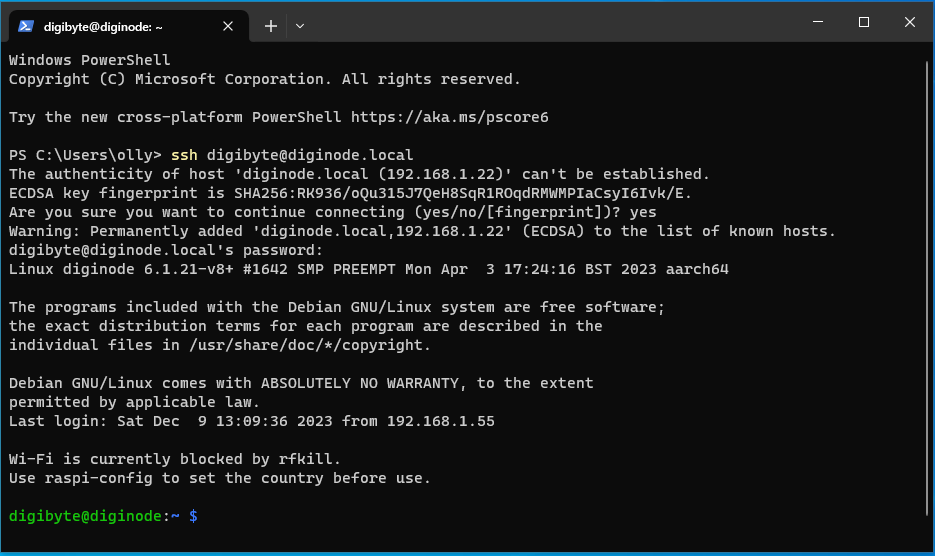
At the command prompt in Windows Terminal, type ssh [email protected] and press return to connect to the Raspberry Pi.
(If you set the hostname to 'diginode-Testnet', use ssh [email protected])
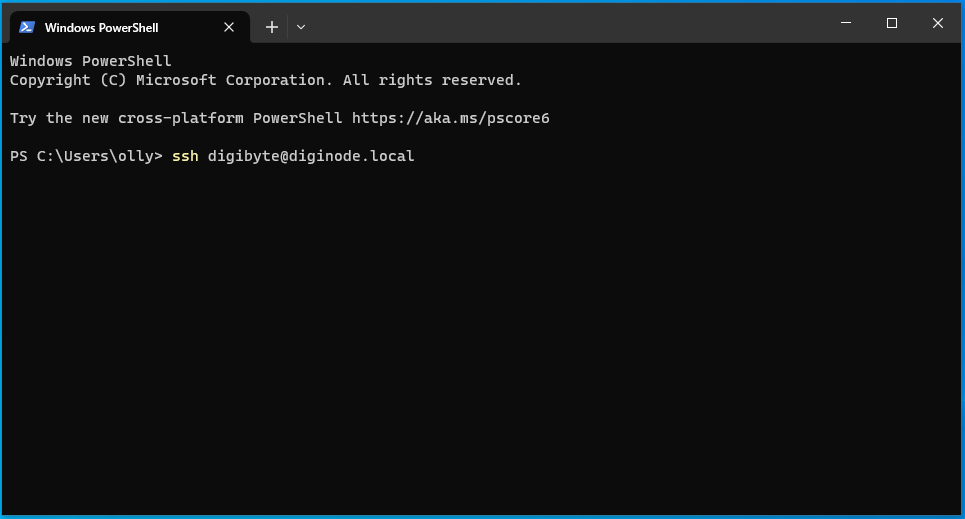
IMPORTANT: If it is unable to find your Raspberry Pi on your local network, it may get stuck on the screen above - press 'Ctrl + C' to cancel. In this event, you will need to connect using the IP address of the Pi instead. e.g. ssh [email protected]. If you don't already know the IP address, go here for instructions on how to find it.
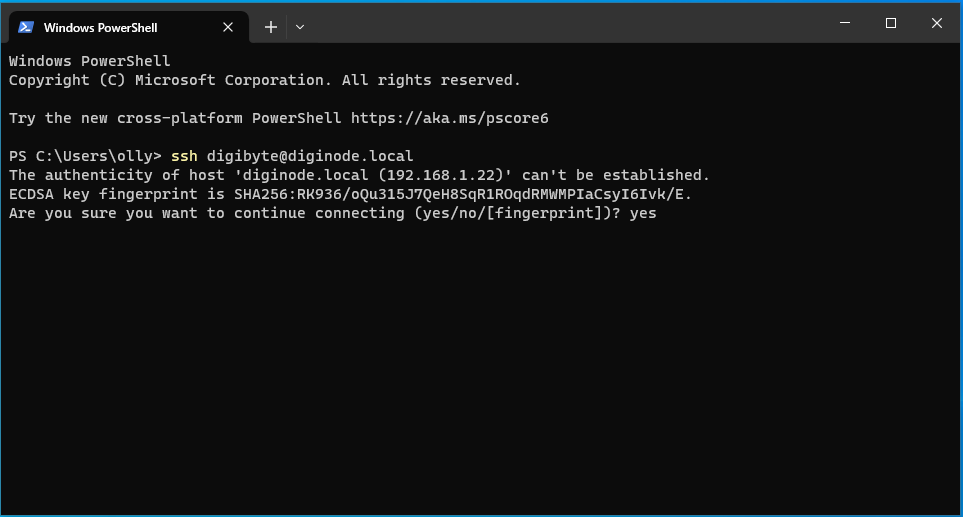
If you see the following message type yes and press return:
When prompted, enter the password you created in STEP 3 and press return.
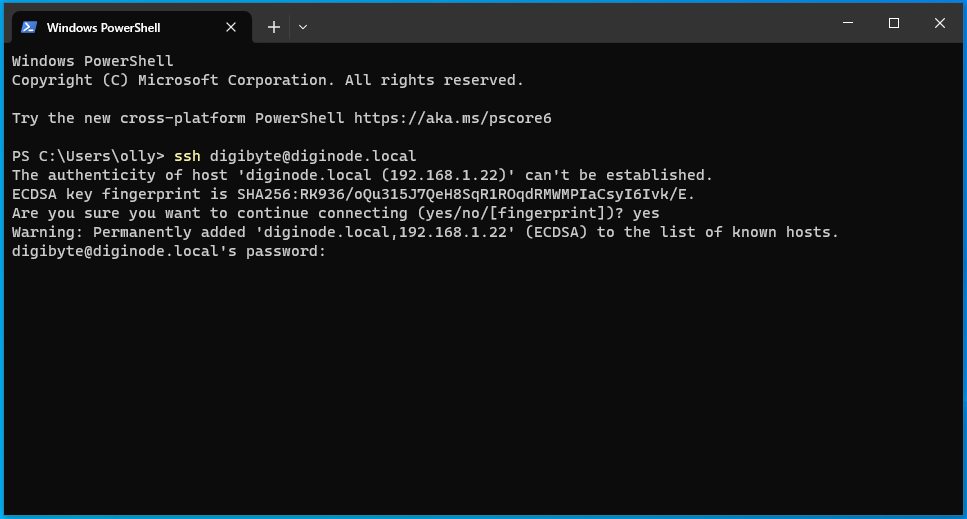
You should then see the 'digibyte@diginode' (or 'digibyte@diginode-testnet') prompt. You are now connected to your Pi.
NEXT: STEP 6 - Run the DigiNode Setup script on your Raspberry Pi
To proceed to Step 6, click here.
To return to the One Page Setup, click here.
