Note: If you have not already connected the SSD to your Raspberry Pi and powered it on, then go here to complete STEP 4.
Step 5b - Look up the IP Address of your Raspberry Pi
If you already know the IP address of the Raspberry Pi, skip to step 5.5 below.
If you don't already know the IP address of the Raspberry Pi, you may be able to discover it by logging into the web interface of your router and looking for it in the list of connected devices. Alternatively, you can find it by using an IP address scanner, which is the method we will be using here. We will be using 'Advanced IP Scanner'. It's free.
If you already have 'Advanced IP Scanner' installed, open it now, and skip to step 5.4 below.
Step 5.3 - Install Advanced IP Scanner
Visit https://www.advanced-ip-scanner.com/ in Microsoft Edge or Google Chrome and click the 'Free Download' button to download 'Advanced IP Scanner'.

If you are using Microsoft Edge, click on the 'Downloads' icon in the top-right corner of the browser window, and then click on the Advanced IP Scanner install file to open it.

If you are using Google Chrome, it will be in the downloads bar at the bottom of the window. Click on it to launch it.

When the window appears asking for permission for the app to make changes to your device, click 'Yes'.

Select your language and click 'Continue':

Select Install and click 'Next'.

Accept the Agreement and click 'Install'.

Once installation has finished, make sure 'Run Advanced IP Scanner' is ticked, and click 'Finish'.

Advanced IP Scanner will open.
Step 5.4 - Lookup the IP address of the Raspberry Pi
Click the 'Scan' to scan the IP addresses on your local network.

Look through the results, and locate the 'diginode' hostname, and note its IP address. You should be able to identify it by also checking the Manufacturer column for 'Raspberry Pi Trading Ltd'.

Step 5.5 - Connect to the Raspberry Pi using Windows terminal
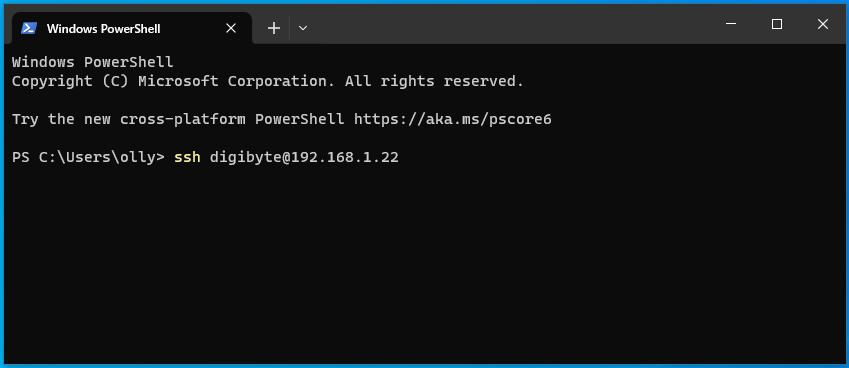
Return to Windows Terminal, and at the command prompt, enter the SSH command with the IP address from the previous step e.g. ssh [email protected].

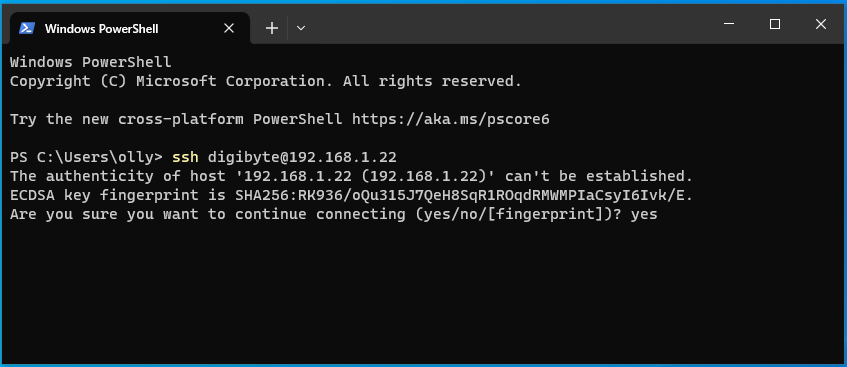
If you see the following message type yes and press return:

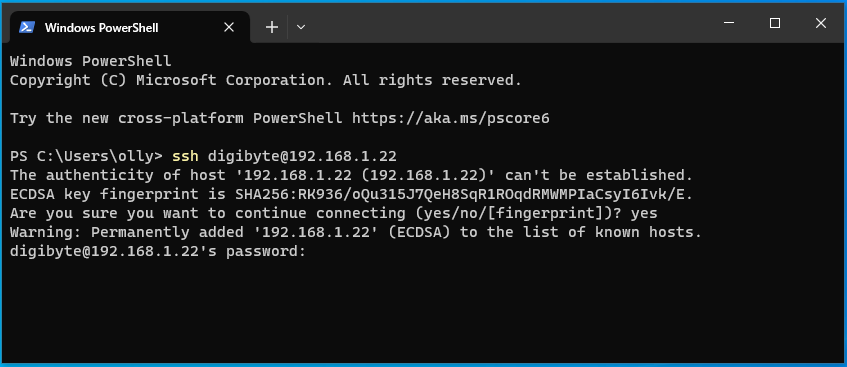
At the next prompt, enter the password you created in STEP 3 and press return.

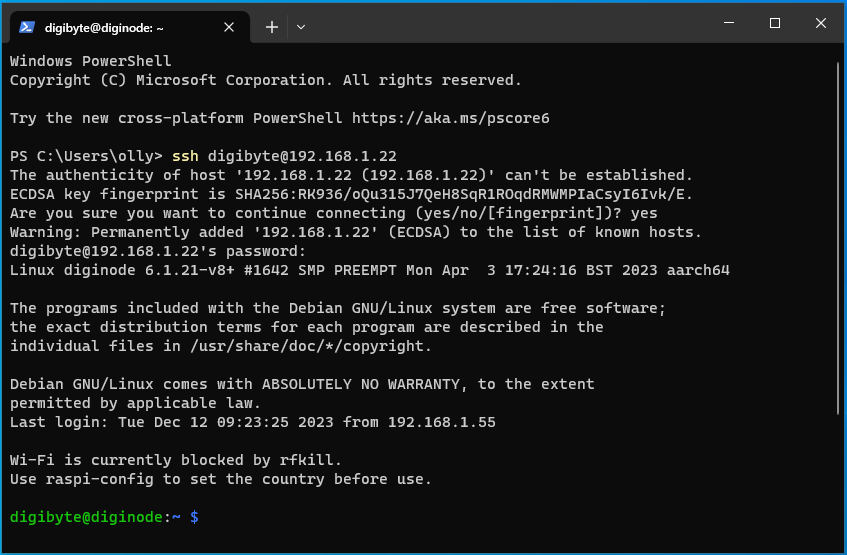
You are now connected to your Pi. You should see the 'digibyte@diginode' prompt. (or 'digibyte@diginode-Testnet')

NEXT: STEP 6 - Run the DigiNode Setup script on your Raspberry Pi
To proceed to Step 6, click here.
To return to the One Page Setup, click here.
