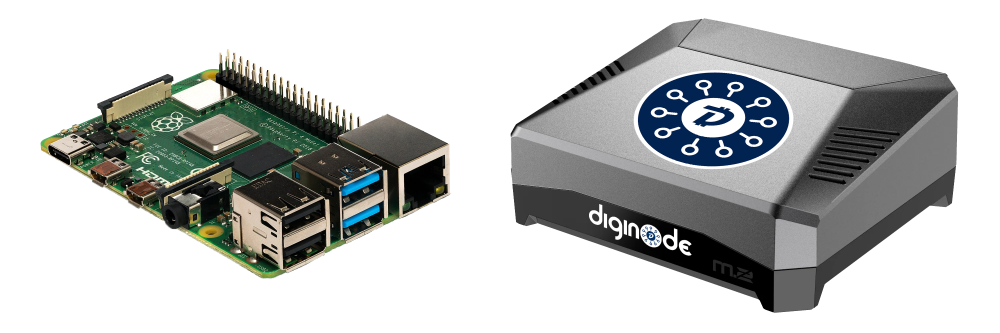
IMPORTANT: If you have not already connected the SSD you are using with your Raspberry Pi to your Windows PC, then please click here and complete STEP 1.
(Note: The instructions on this page are for Windows. If you are on macOS, click here.)
Step 2 - Download and install the 'Raspberry Pi Imager' software on Windows
The 'Raspberry Pi Imager' software will be used to write the Raspberry Pi operating system onto the SSD.
Step 2.1 - Download 'Raspberry Pi Imager'
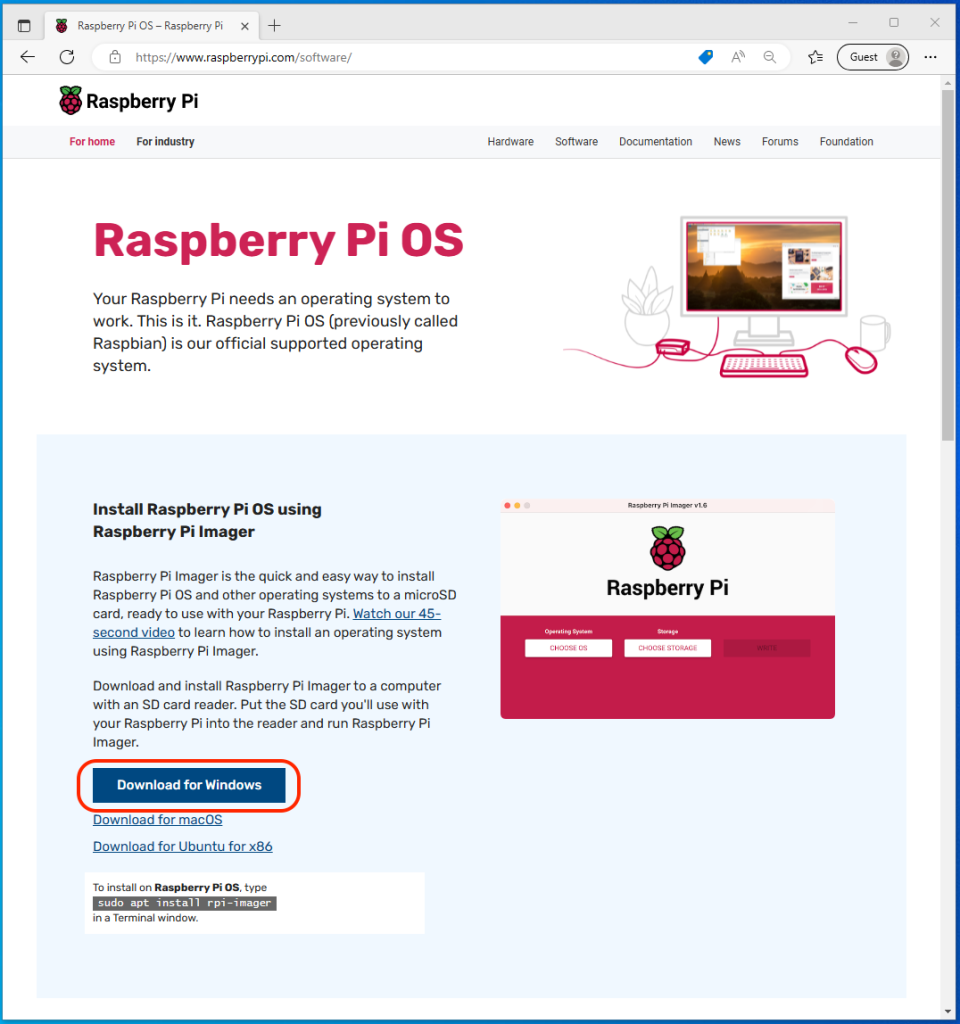
Go here and click the 'Download for Windows' button to download the 'Raspberry Pi Imager' software to your computer.
Step 2.2 - Install 'Raspberry Pi Imager'
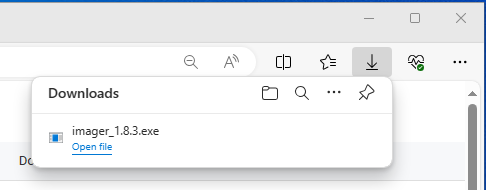
Click on the 'Downloads' icon in the top-right corner of the browser window, and then click on the downloaded 'imager_1.8.3.dmg' install file to open it. (Your version number may be newer.)
When the window appears asking for permission for the app to make changes to your device, click 'Yes'.

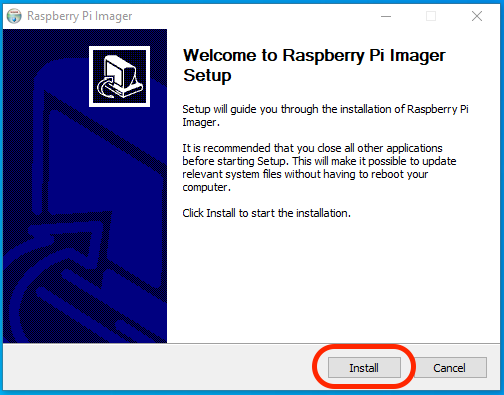
Click 'Install':
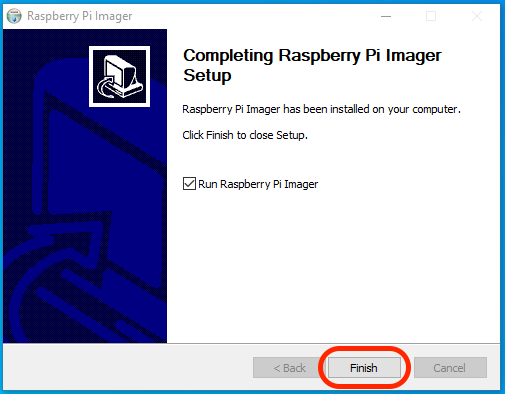
The app will be installed. Make sure 'Run Raspberry Pi Imager' is ticked and click Finish.
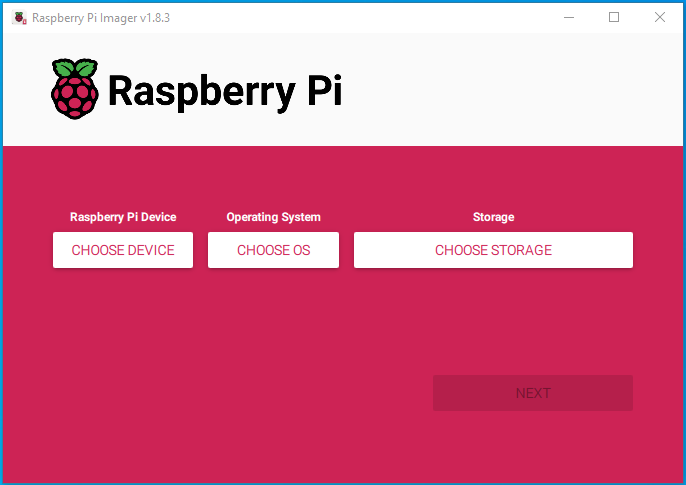
Raspberry Pi Imager should open:
NEXT: STEP 3 - Use 'Raspberry Pi Imager' to pre-configure the operating system and write it to the SSD
To proceed to Step 3, click here.
To return to the One Page Setup, click here.