IMPORTANT: If you have not already connected the SSD you are using with your Raspberry Pi to your Mac computer, then go here to complete STEP 1.
Step 2 - Download and install the 'Raspberry Pi Imager' software on macOS
The 'Raspberry Pi Imager' software will be used to write the Raspberry Pi operating system on to the SSD.
(Note: The instructions on this page are for macOS. If you on Windows, click here.)
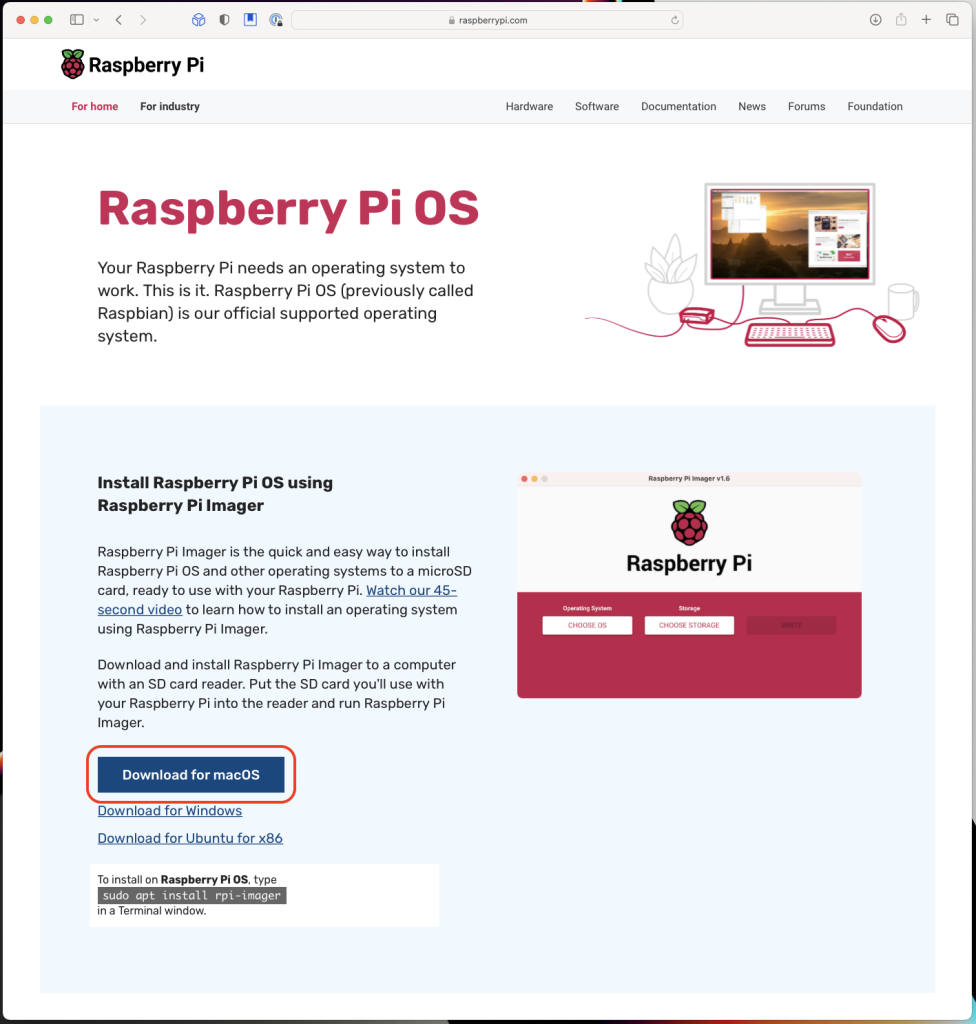
Step 2.1 - Download 'Raspberry Pi Imager'
Go here and click the 'Download for macOS' button to download the 'Raspberry Pi Imager' software to your computer.
Step 2.2 - Install 'Raspberry Pi Imager'
Click on the 'Downloads' icon in the top-right corner of the Safari window, and then click on the downloaded 'imager_1.7.3.dmg' install file to open it. (Your version may be more recent.)

If you see the dialog below, click 'Allow':

Drag and drop the 'Raspberry Pi Imager' icon onto the Applications icon to install it in your Applications folder.
Open 'Raspberry Pi Imager'. You can double-click the 'Applications' shortcut icon from the previous step to open your Applications folder, find the 'Raspberry Pi Imager' application you just installed, and double-click the icon to open it.

NEXT: STEP 3 - Use 'Raspberry Pi Imager' to pre-configure the operating system and write it to the SSD
To proceed to Step 3, click here.
To return to the One Page Setup, click here.