Run DigiNode Setup
In the terminal where you're connected to your Pi (step 5), run this command:
curl -sSL setup.diginode.tools | bash
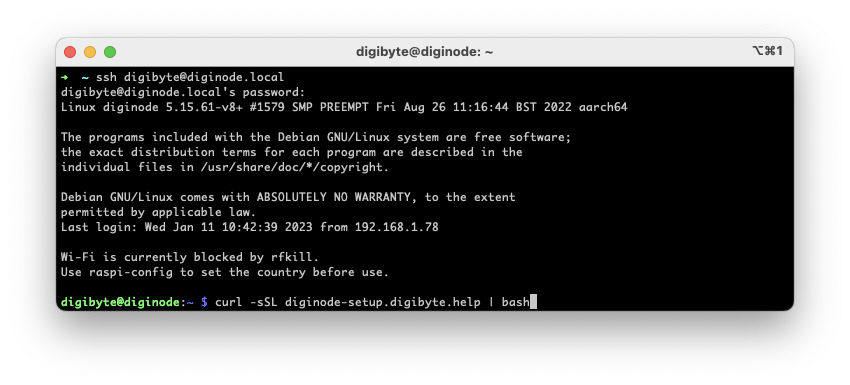
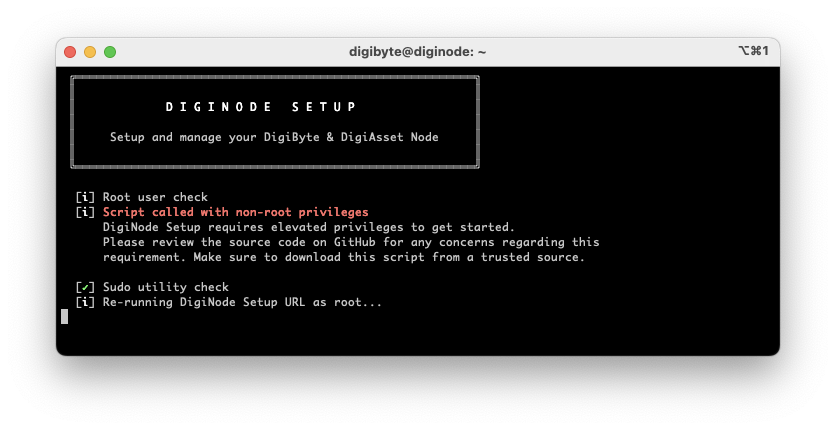
6aDigiNode Setup checks your system, then guides you through the install, one question at a time.
Tip: opening web links from the terminal
DigiNode Tools sometimes shows web addresses. To open one in your browser, hold ⌘ (Mac) or Ctrl (Windows) and click it.
Answer the setup questions
Use the arrow keys to move, and Enter to choose. Here's what to pick:
6bCustomise your install? Choose Continue to use the recommended settings.

6cMain menu: choose Install DigiByte Node ONLY.
6dDigiByte chain: choose Mainnet - unless you set your Pi up for Testnet in step 3.
A Dual Node runs a mainnet and a testnet node together, to support DigiByte developers too.
6eTor: read the explanation and choose whether to run your node over Tor (more private) or the normal internet (faster).
If you choose Tor, UPnP (the next question) can't be used.
6fPort forwarding: choose Setup Manually. Note the port number it shows - 12024 for mainnet. You'll forward it on your router in step 7.
Use UPnP opens the port automatically instead, if your router supports it - but it doesn't work well with every router.
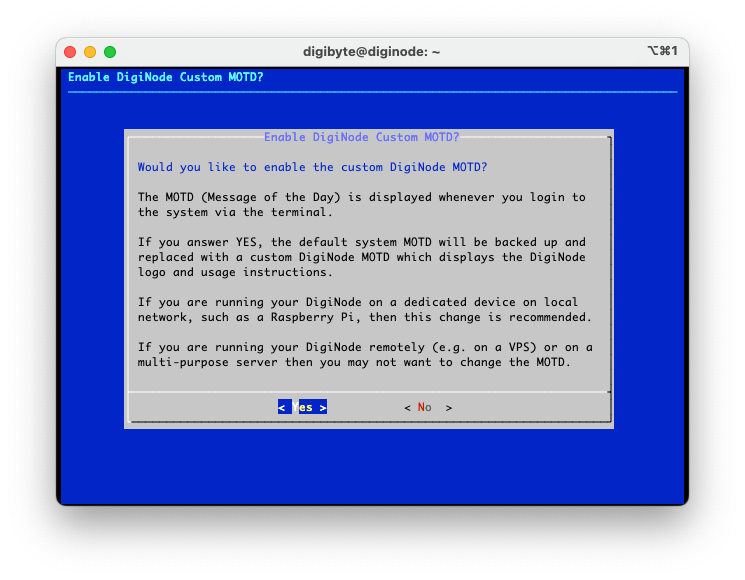
6gDigiNode MOTD: choose Yes - it shows the DigiNode commands each time you log in.
6hAutomatic system updates (DigiNode Tools v26.10.05 and newer): choose Security - security and stability updates, recommended.
It then asks about restarting automatically when an update needs it. On a Raspberry Pi, Yes is a good choice - it restarts at night, and never while your DigiNode is busy.
6iThe install takes a few minutes. At times it may look stuck - be patient. You'll see a message when it has finished.
Restart and open the DigiNode Dashboard
6jRestart the Raspberry Pi:
sudo reboot
6kWait a minute or two, then connect again the same way as in step 5, with the same password. You'll see the DigiNode welcome message (MOTD), with the commands to manage your DigiNode.
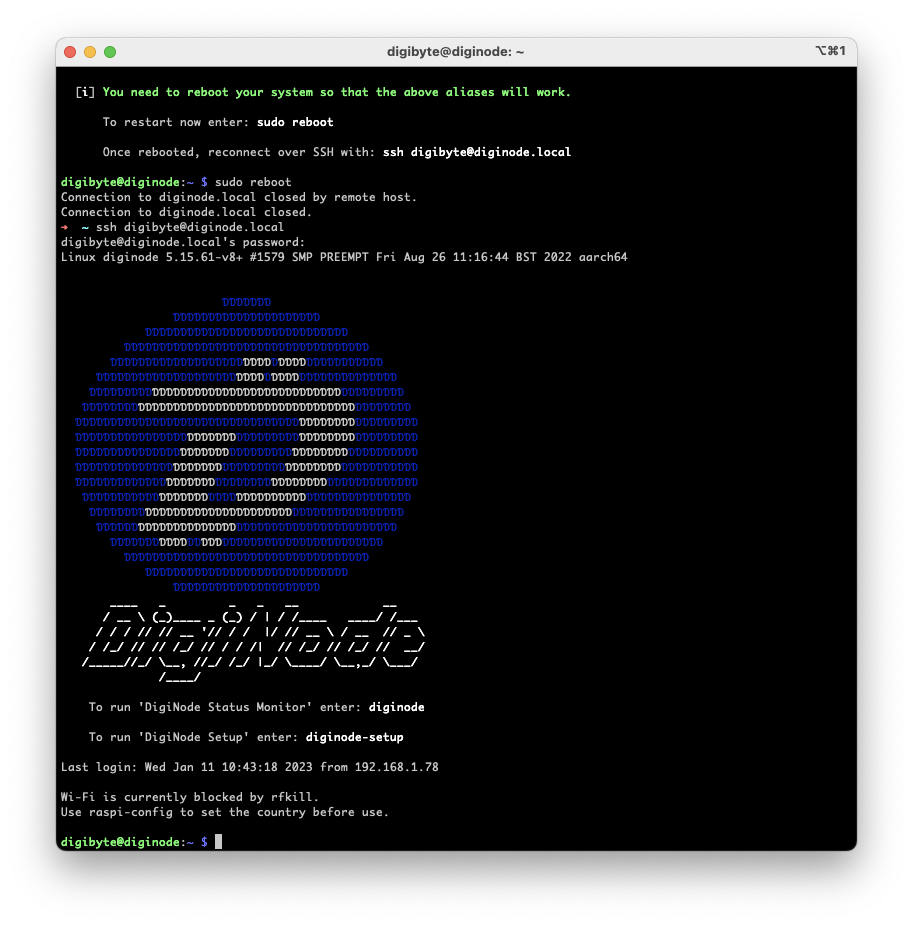
6lOpen the DigiNode Dashboard to see your node's status:
diginode
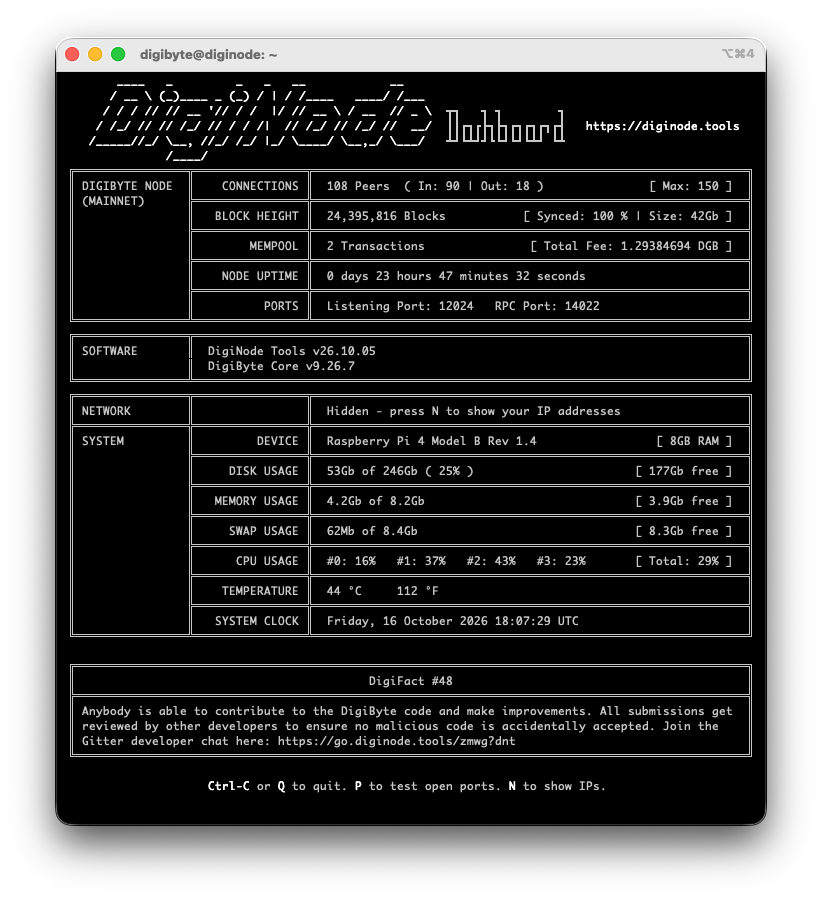
Press Q (or Ctrl + C) to quit the Dashboard. Your node keeps running - it can take a few days to download the whole DigiByte blockchain the first time.
Useful DigiNode commands
diginode - open the DigiNode Dashboarddiginode --help - all the Dashboard's commandsdiginode-setup - DigiNode Setup: update, change settings, back up, and morediginode-setup --help - all of DigiNode Setup's options
New to Linux? Some useful commands
exit - disconnect from the Pils - list the files in the current folder (ls -a includes hidden ones)cd ~/.digibyte - go into a folder; cd .. goes up one, cd ~ goes homenano ~/.digibyte/diginode.settings - edit a filesudo - run a command as the administrator (it asks for your password)sudo reboot / sudo shutdown now - restart / shut down the Pi
Next: Step 7 - Fixed IP address and port forwarding
Or go back to the One Page Setup.
Please Support DigiNode Tools
This guide and DigiNode Tools are free, and I build and maintain them in my spare time. If they have helped you, please consider supporting my work: