Put the SSD in place
Fit the NVMe SSD with Raspberry Pi OS on it (from step 3) on your M.2 board. Make sure the Pi is unplugged.
4aSlide the SSD into the M.2 slot at a slight angle, press it down flat, and fix it with the small screw. Don't over-tighten the screw.
Raspberry Pi M.2 HAT+
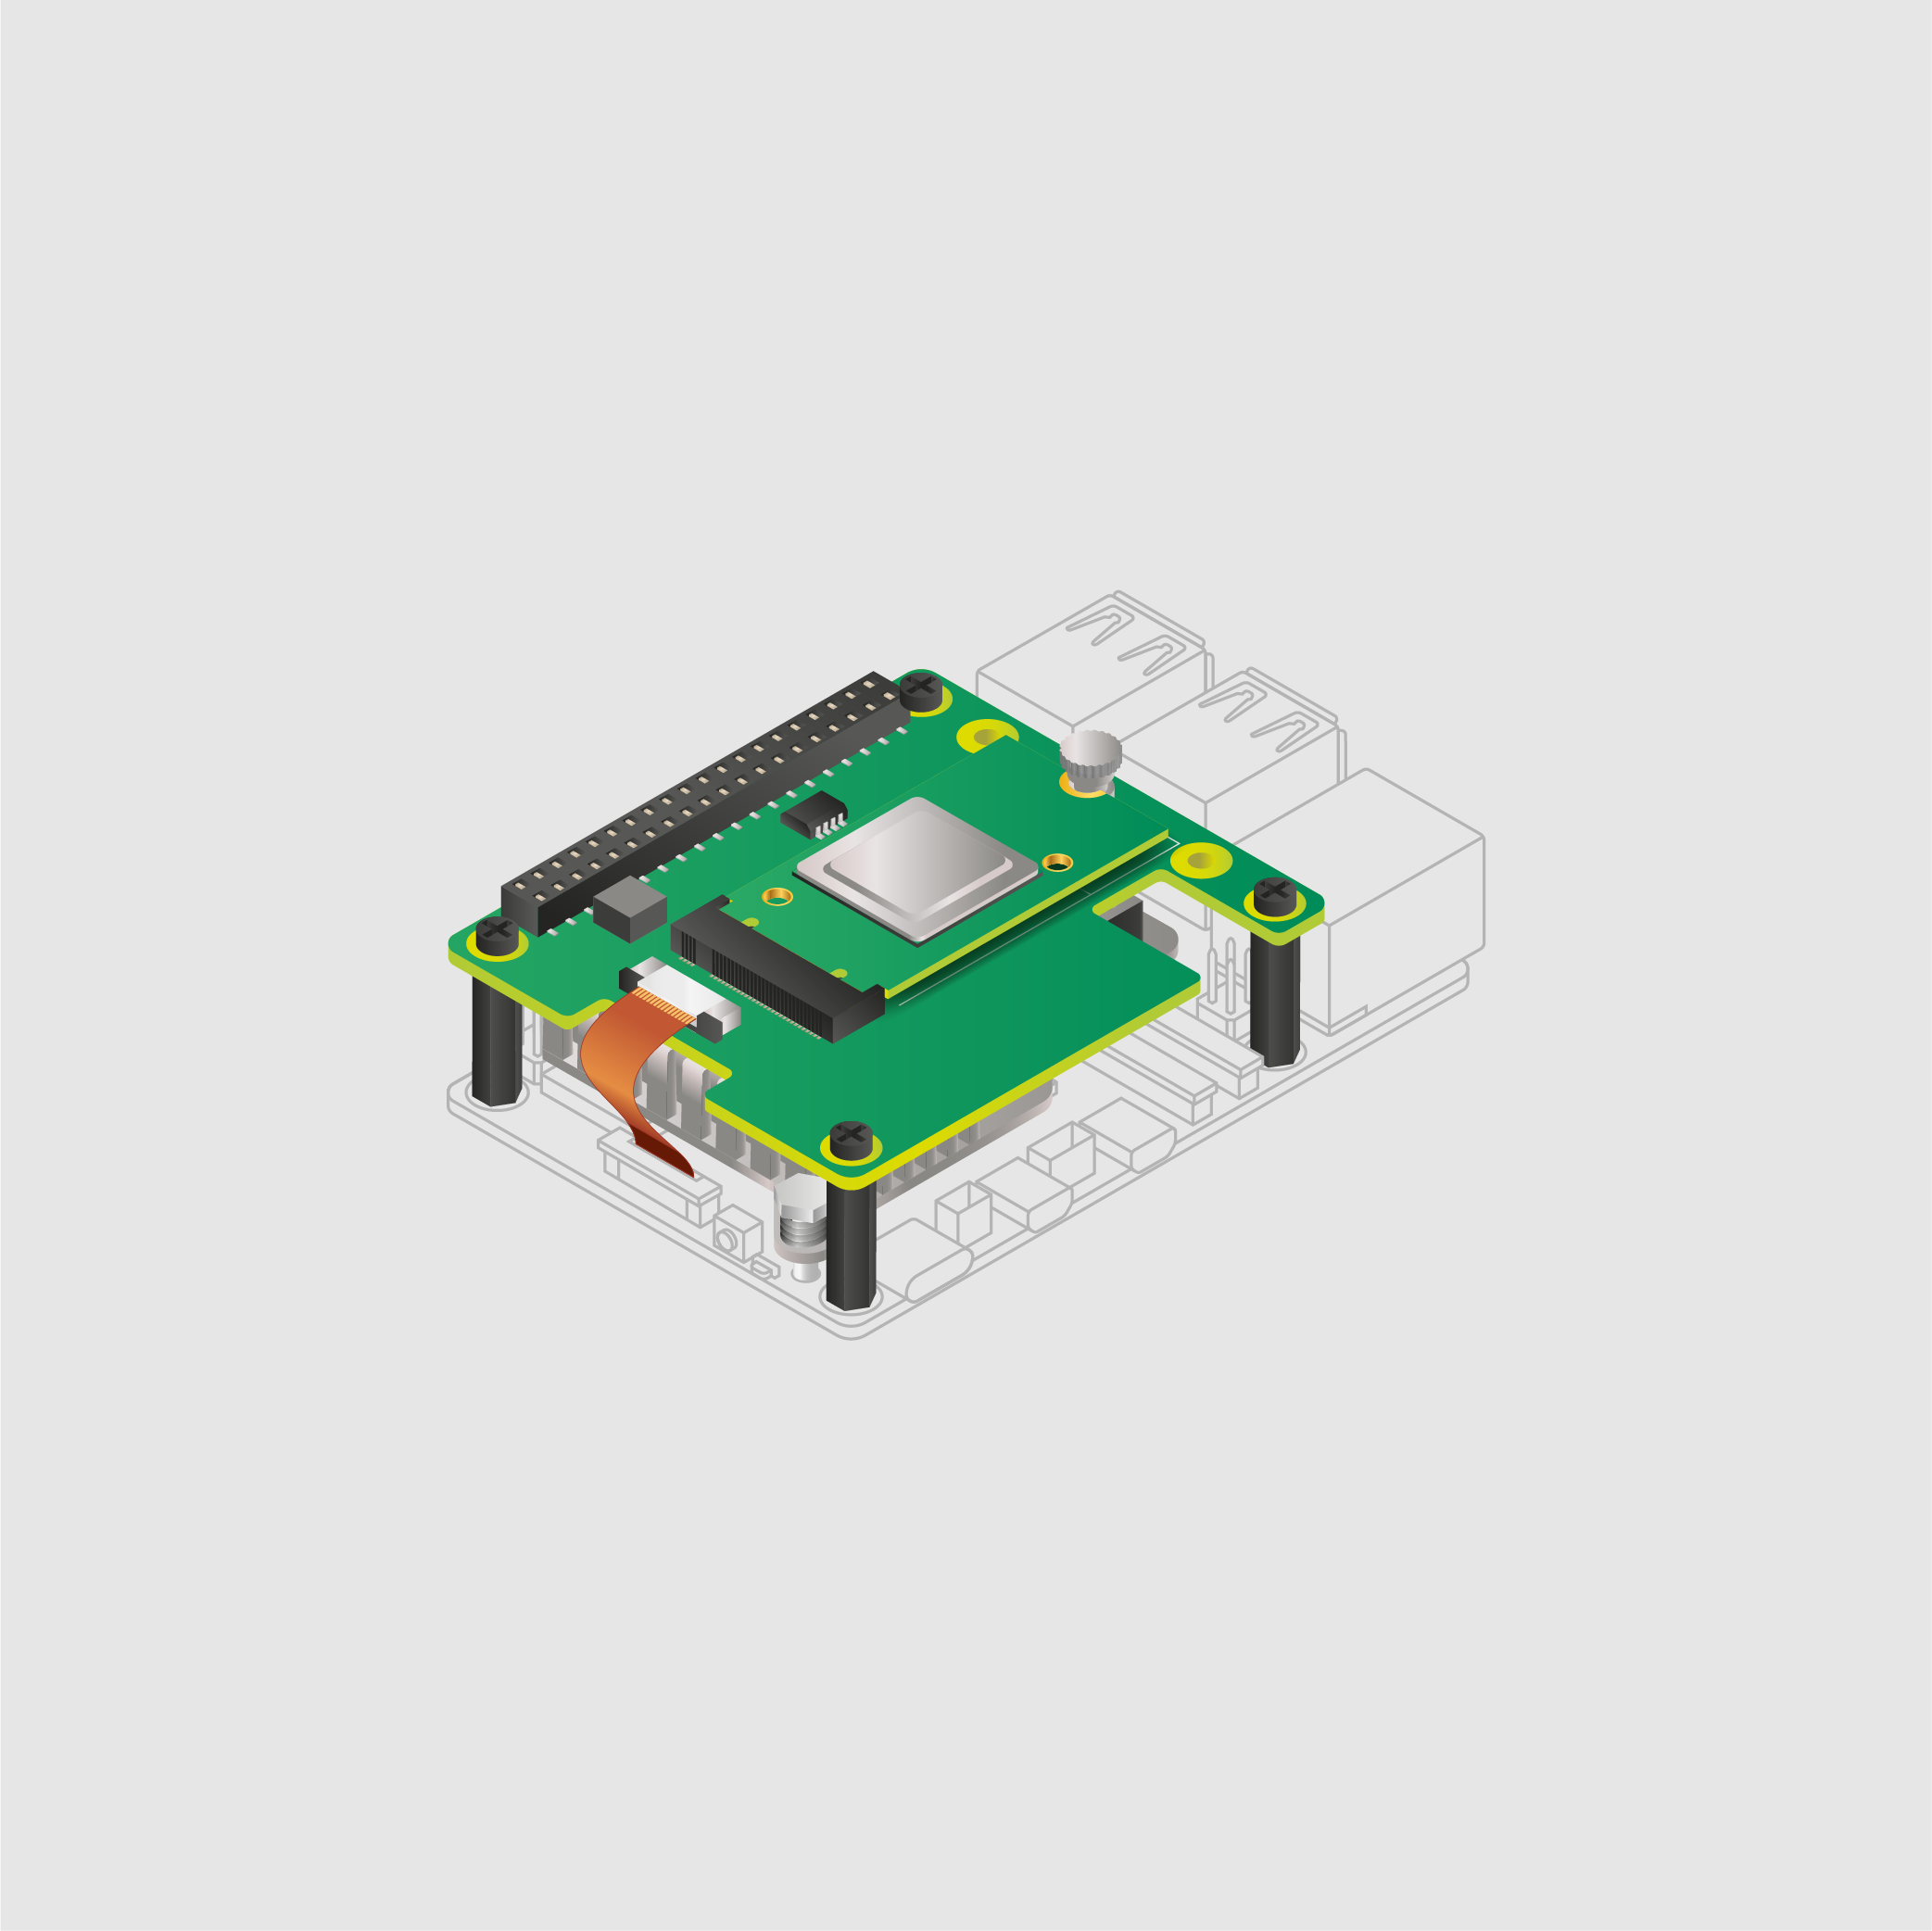
The full-size HAT+ takes 2230 and 2242 SSDs. The M.2 HAT+ Compact (inside the official case) takes 2230 SSDs.
Argon ONE V3 M.2 NVMe case
The SSD goes on the NVMe board in the base of the case. Follow the case's instructions to open the base, fit the SSD, and close it again.
See the Argon ONE V3 M.2 NVMe case.
Using the M.2 HAT+ Compact?
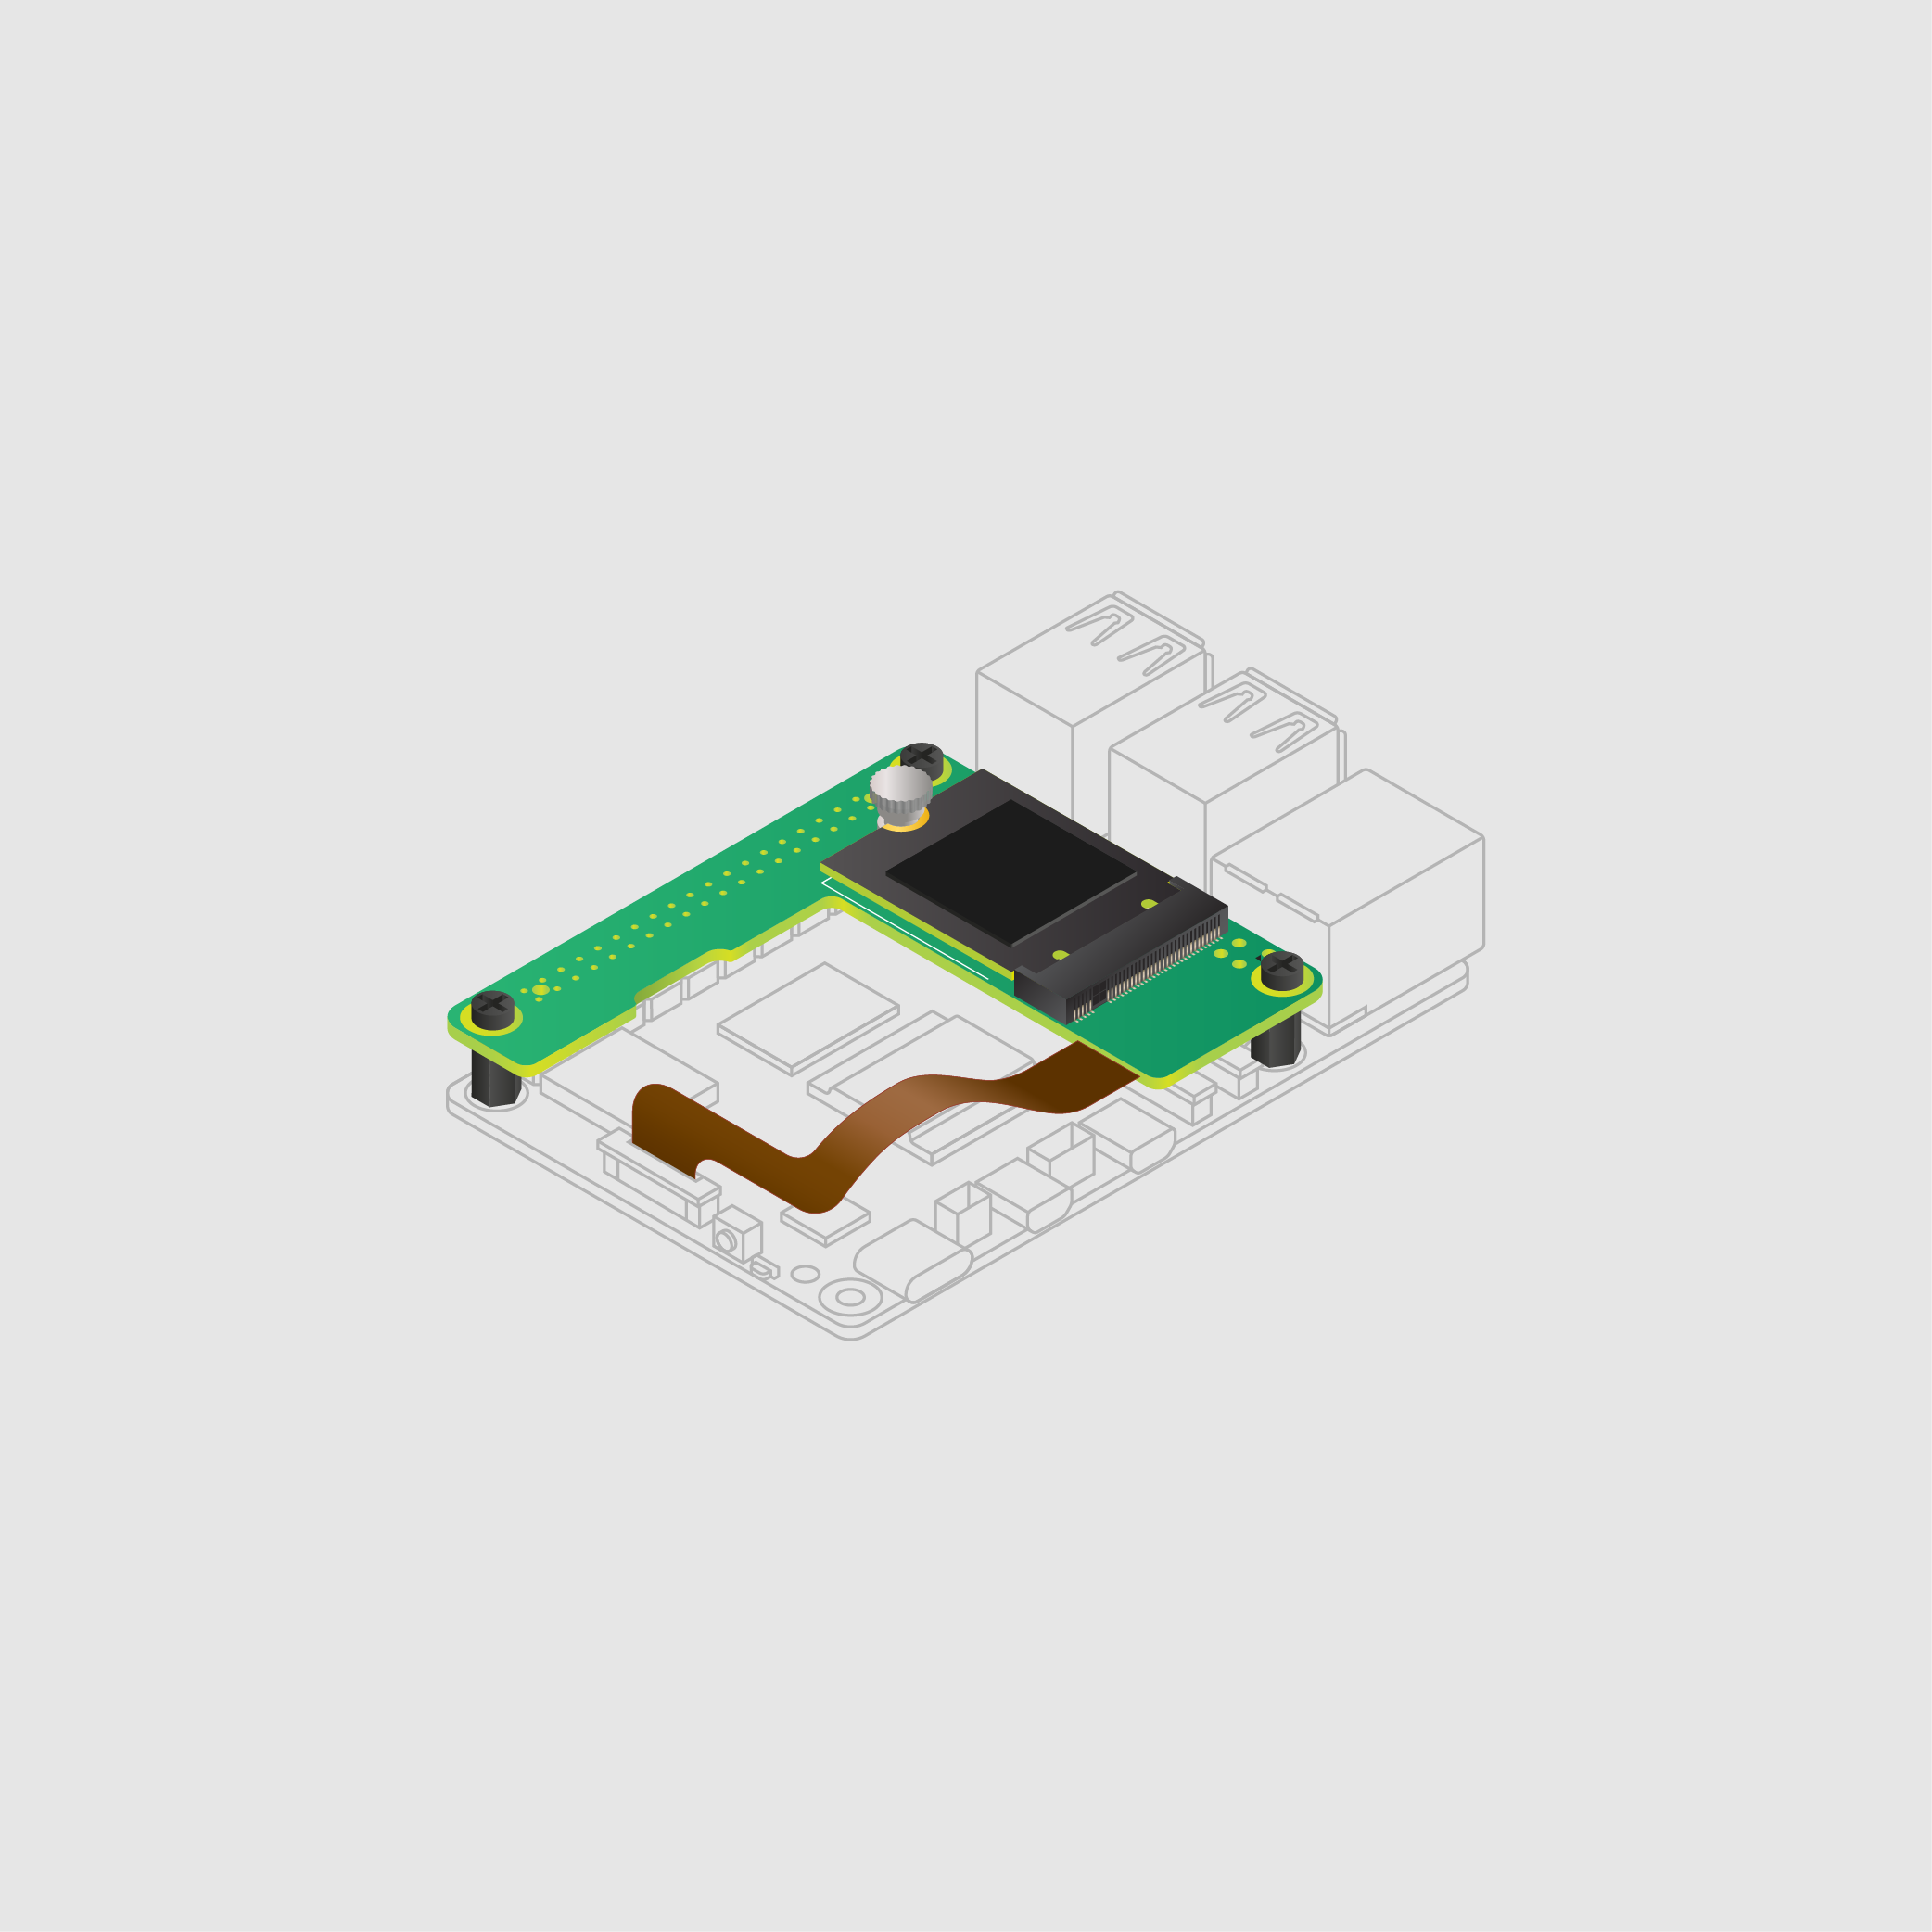
It works the same way: slide the 2230 SSD in, press it down and fix it with the screw.
Raspberry Pi M.2 HAT+ images: Raspberry Pi Ltd, CC BY-SA 4.0.
Connect the SSD with Raspberry Pi OS on it (from step 3) to the Raspberry Pi.
4aExternal SSD: plug it into one of the blue USB 3 ports on the Raspberry Pi 4.

4bSSD inside the case (like the Argon ONE M.2): connect it with the U-shaped USB connector that came with the case, to the lower blue USB 3 port.

Connect the network and power, and start it up
Plug in the network cable and the power - your Pi starts by itself.
4cConnect the Raspberry Pi to your router with an ethernet cable (recommended - not needed if you set up Wi-Fi in step 3).
4dPlug in the power supply.
Use the official Raspberry Pi 27W USB-C power supply. The Raspberry Pi 5 needs more power than a Pi 4, especially with an SSD.
Use a genuine Raspberry Pi 4 power supply. Other power supplies can have voltage problems.
4eWait a few minutes. The first time it starts, Raspberry Pi OS sets itself up with your settings from step 3.
My Raspberry Pi 5 doesn't start from the SSD
Take out any microSD card - the Pi 5 starts from the NVMe SSD when there's no card in it.
Some early Raspberry Pi 5s need newer firmware (bootloader) first. In Raspberry Pi Imager, choose Misc utility images > Bootloader (Pi 5 family) > NVMe/USB Boot, write it to a spare microSD card, start the Pi with that card in, wait until its green light flashes steadily, then switch off and remove the card. See Raspberry Pi's instructions.
Next: Step 5 - Connect to your Pi
Or go back to the One Page Setup.
Please Support DigiNode Tools
This guide and DigiNode Tools are free, and I build and maintain them in my spare time. If they have helped you, please consider supporting my work: